Bird Bath Tutorial - How to cleaning a bird skin
Posted: Sun Jan 10, 2016 3:46 pm
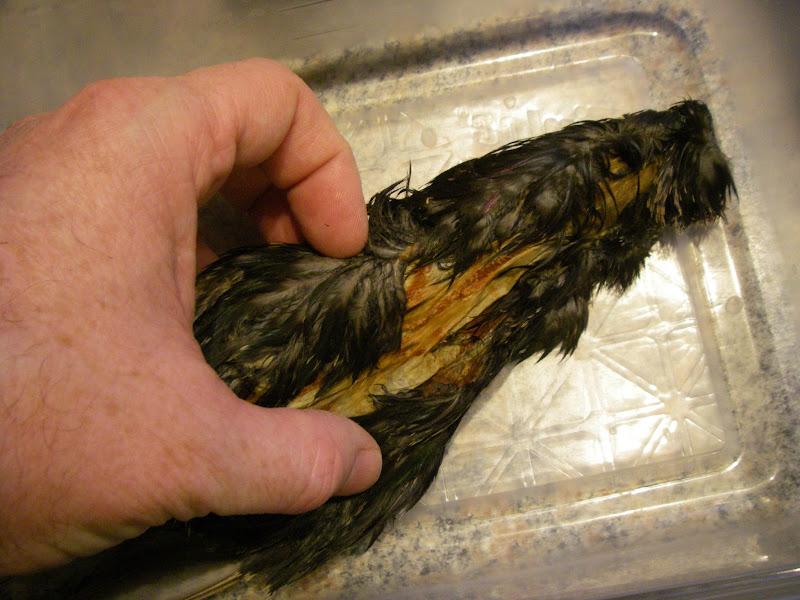
Earlier today I sat down to tye with a new starling skin purchased earlier this year. Unfortunately, when I pulled it out of the package, I noticed that the feathers were dirty and kind of oily. I had purchased this starling skin, without pulling the skin out of the package (lesson learned - examin new skins more carefully).
After looking over the skin, I decided to clean the skin and dry it before using it for fly tying. I figured I'd photograph the process, to be able to share it here, for discussion.
Here is the skin, as it came out of the package.


I filled a small plastic container with an inch of warm water, then dunked the skin to get the feathers wet. Once it was soaked, I then drizzled roughly a tablespoon of Woolite into the back of the skin and gently rubbed it into the feathers. I then layed the skin back in the water and agitated the feathers to help remove the dirt and oil. As I cleaned the skin, I could see the water getting dirty from the material coming off the skin/feathers.
I repeated this process several times, replacing the water several times and then finally rincing out the skin with clean water until it was nice and clean.
Here is what the water looked like after the first bath.
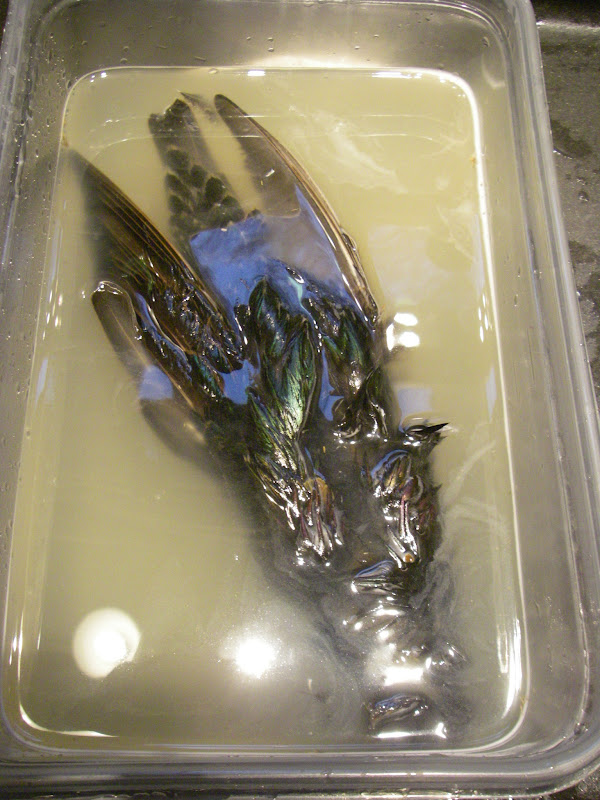
Anyone care for a bowl of starling skin soup? Ewe...
Now it was time to dry out the skin. First step, gently squeeze out the excess water, and lay the skin out on a few layers of clean paper towels.

Open the skin and stretch it out so you can get to both sides with a hair drier.

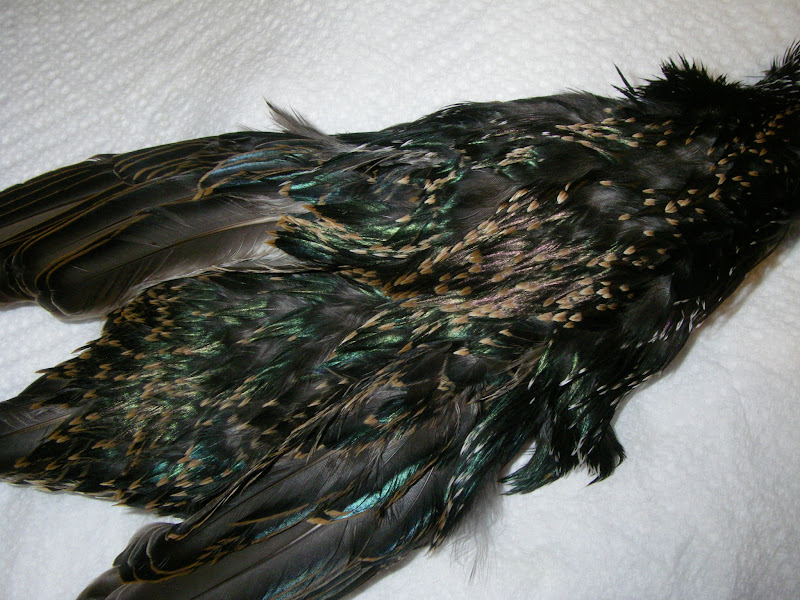
Using a hair drier, blow dry the feathers and skin, to remove water retained by the feathers. As the feathers dry, they will fluff apart from each other. Be sure to dry both sides of the hide (feather side and skin side).
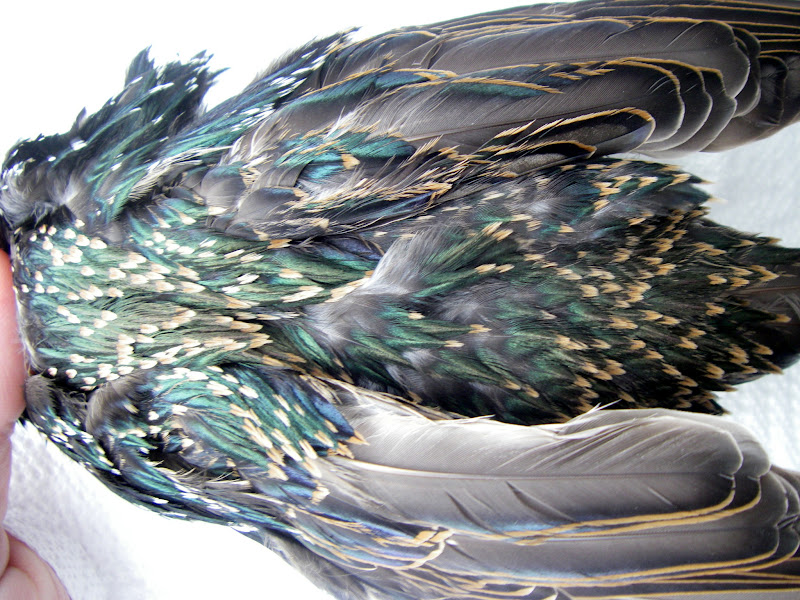
I notices as the feathers dried, they began to look shiny, with a nice glossy irridescent shine. Just what I was hoping to see.
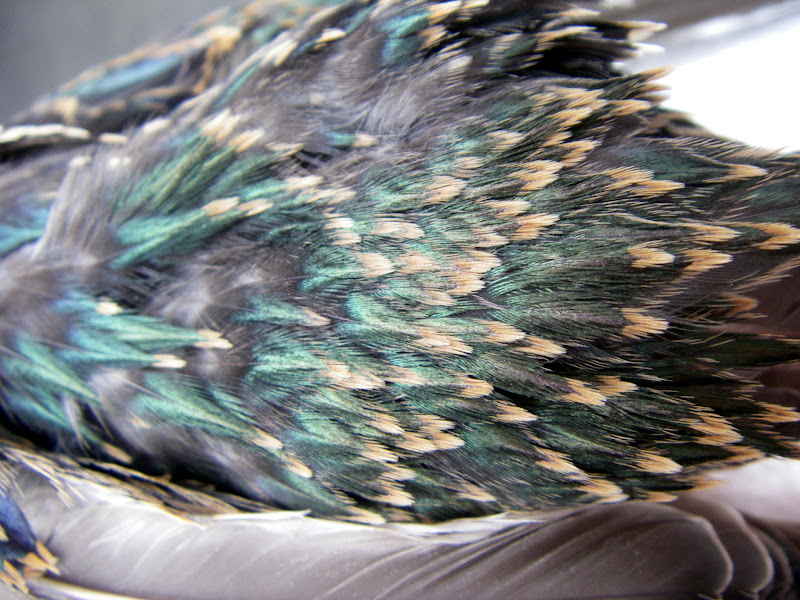
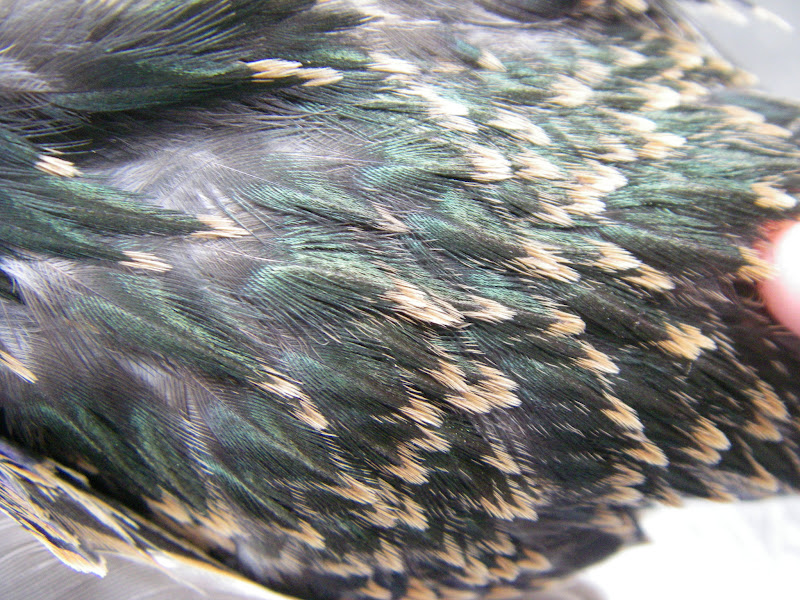
The feathers up near the neck of this bird had a lot of very fine feathers (i.e. - short fibers), with nice creamy brown tips (nice jungle cock sub).

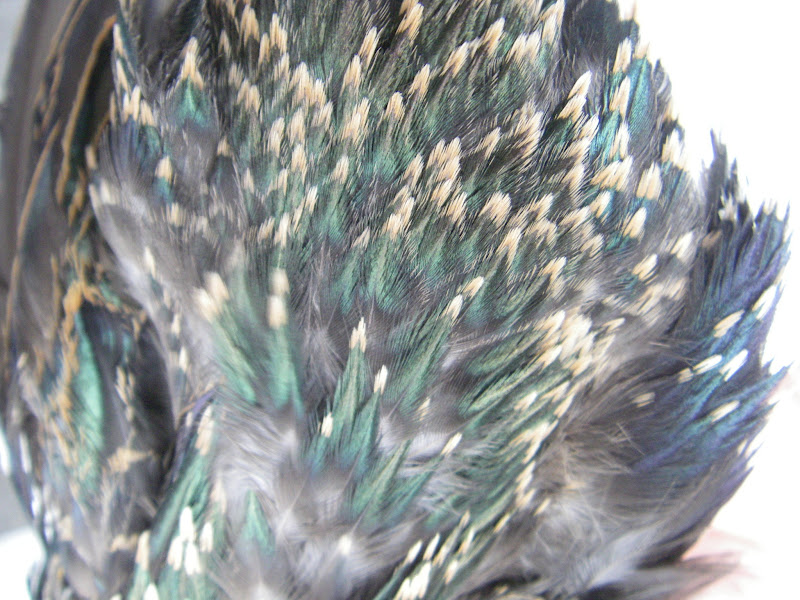
The lower back (rump) area of the bird has significantly larger hackles. In this case, the rump feathers had a large spade shape feather, with longer fibers. I really like using the rump feathers for soft hackles. I feel the longer fiber length adds more movement to the finished fly and it looks more "buggy" to my eye.
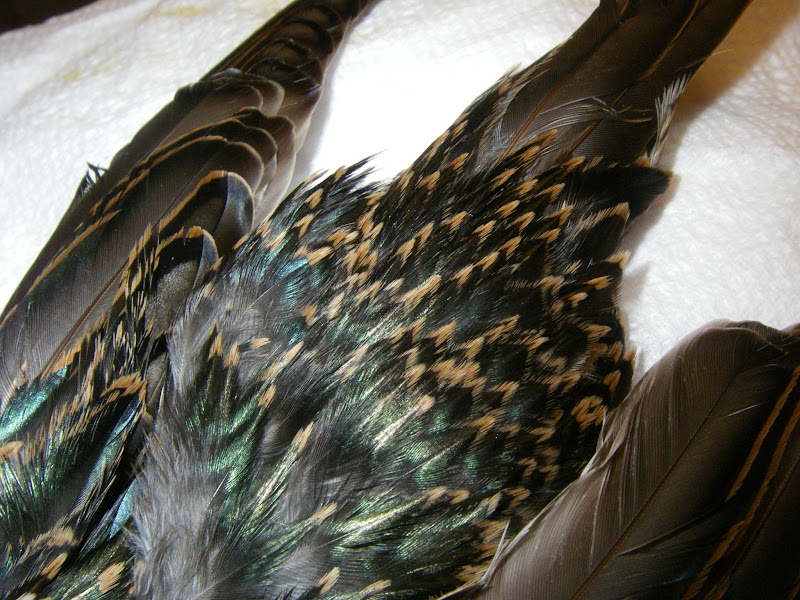

I will leave the skin out over night to be absolutely certain it is fully dried, before putting it back into it's plastic bag.
Overall, I am very pleased with the results and figured I'd share the process, to show how easy it is to clean bird skins. Give it a try.
After looking over the skin, I decided to clean the skin and dry it before using it for fly tying. I figured I'd photograph the process, to be able to share it here, for discussion.
Here is the skin, as it came out of the package.
I filled a small plastic container with an inch of warm water, then dunked the skin to get the feathers wet. Once it was soaked, I then drizzled roughly a tablespoon of Woolite into the back of the skin and gently rubbed it into the feathers. I then layed the skin back in the water and agitated the feathers to help remove the dirt and oil. As I cleaned the skin, I could see the water getting dirty from the material coming off the skin/feathers.
I repeated this process several times, replacing the water several times and then finally rincing out the skin with clean water until it was nice and clean.
Here is what the water looked like after the first bath.
Anyone care for a bowl of starling skin soup? Ewe...
Now it was time to dry out the skin. First step, gently squeeze out the excess water, and lay the skin out on a few layers of clean paper towels.
Open the skin and stretch it out so you can get to both sides with a hair drier.
Using a hair drier, blow dry the feathers and skin, to remove water retained by the feathers. As the feathers dry, they will fluff apart from each other. Be sure to dry both sides of the hide (feather side and skin side).
I notices as the feathers dried, they began to look shiny, with a nice glossy irridescent shine. Just what I was hoping to see.
The feathers up near the neck of this bird had a lot of very fine feathers (i.e. - short fibers), with nice creamy brown tips (nice jungle cock sub).
The lower back (rump) area of the bird has significantly larger hackles. In this case, the rump feathers had a large spade shape feather, with longer fibers. I really like using the rump feathers for soft hackles. I feel the longer fiber length adds more movement to the finished fly and it looks more "buggy" to my eye.
I will leave the skin out over night to be absolutely certain it is fully dried, before putting it back into it's plastic bag.
Overall, I am very pleased with the results and figured I'd share the process, to show how easy it is to clean bird skins. Give it a try.