Demonstration of Dubbed Silk Body Technique
Posted: Mon Jul 28, 2014 8:05 pm
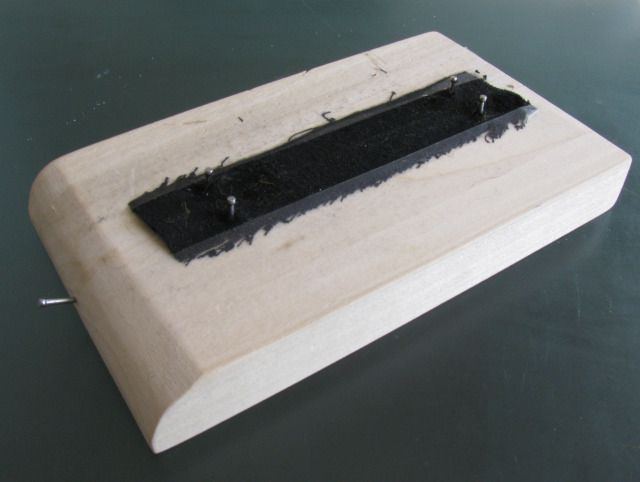
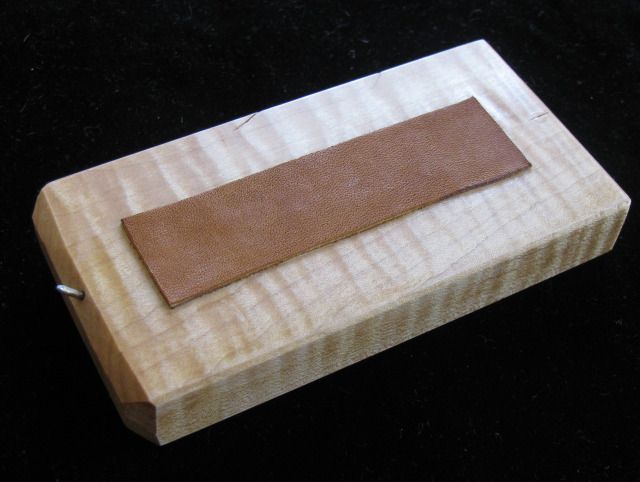
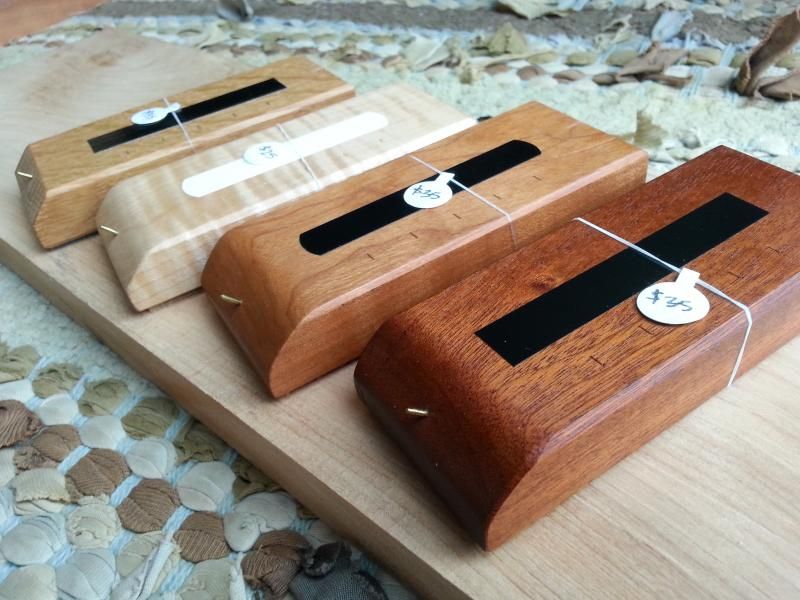
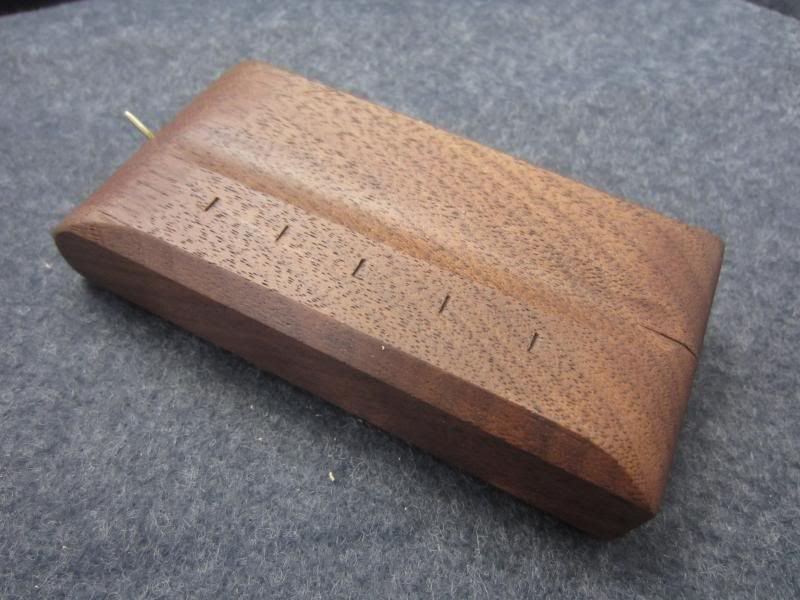
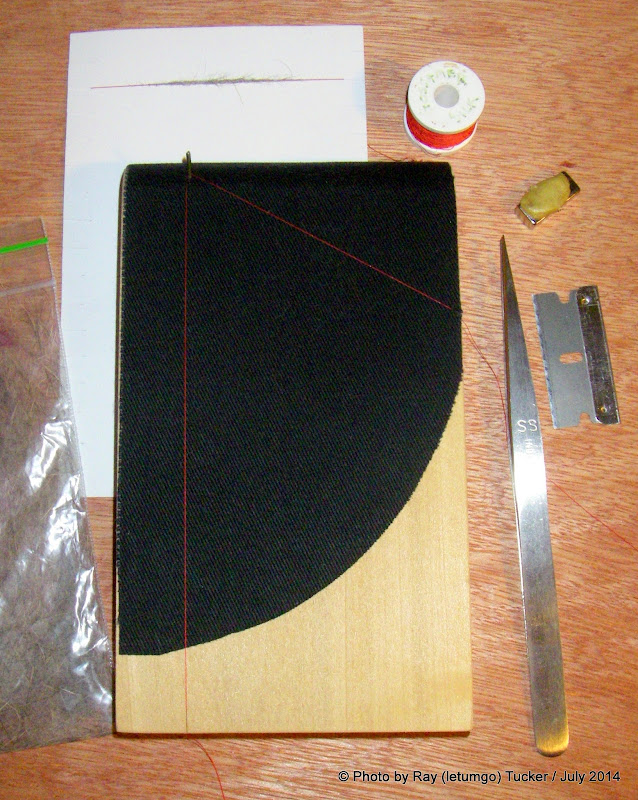
When we were out in Montana, Jim Slattery demonstrated a very efficient way of making dubbed silk bodies on his pants leg. Over this past weekend I made up a new dubbing block, along with a fabric overlay. The fabric is an iron-on knee patch, which has been thermally fused to the wooden block. The fabric is intended to provide a textured surface to help with the twisting process and mimic the pants-leg method, but maintain the convenience of a Clark Block.
VIDEO LINK (YouTube):
Anyway, here are a few photos and a link to a YouTube video showing the technique. Give it a try. It's a pretty neat method of making flymph bodies.
Jim also demonstrated a neat way to quickly form tapered bodies. Using a set of tweezers, grasp a whispy thin layer of dubbing out of the package, then trim the edges to form a elongated triangle taper.
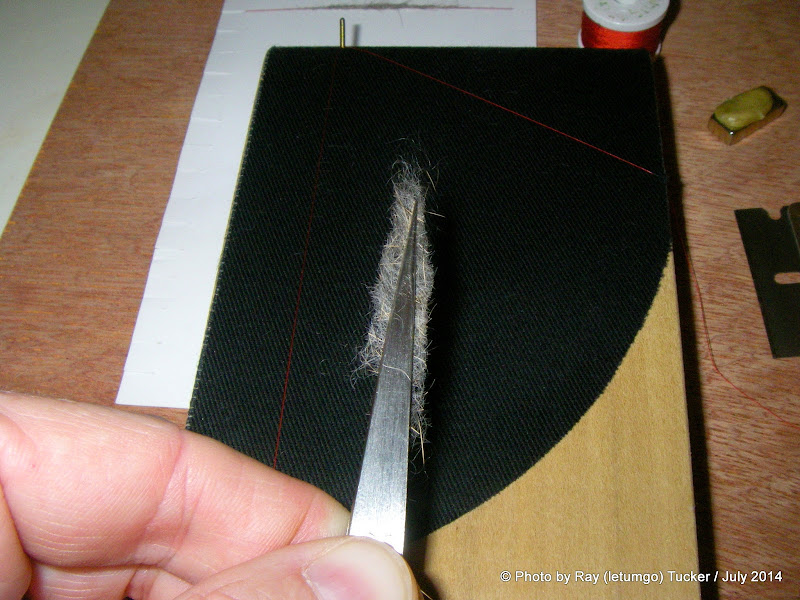
Lay the dubbing on the already waxed silk thread. Note that the layer of dubbing should be thin enough to still see the silk thread underneath.

Lay the opposite strand of waxed silk over the top of the dubbing layer and adjust the dubbing as needed (i.e. - poke it around until you are happy with the distribution).


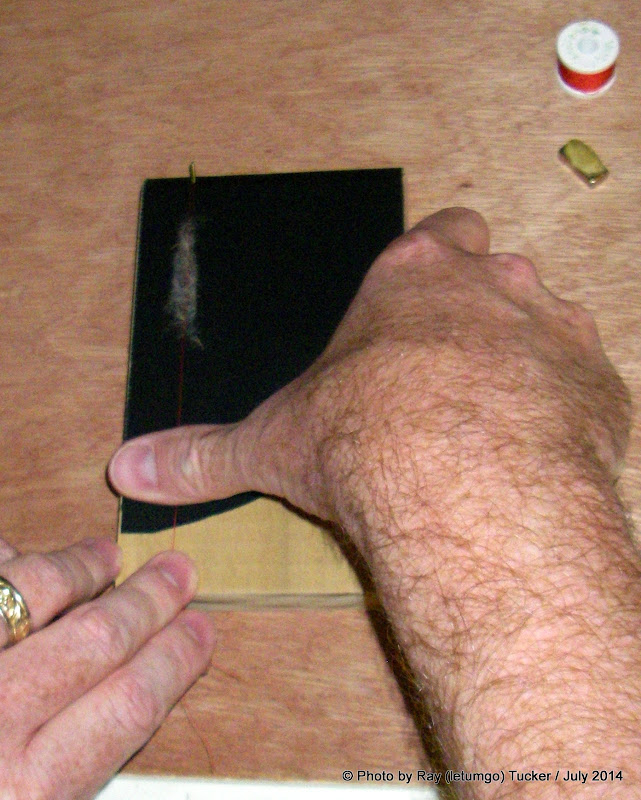
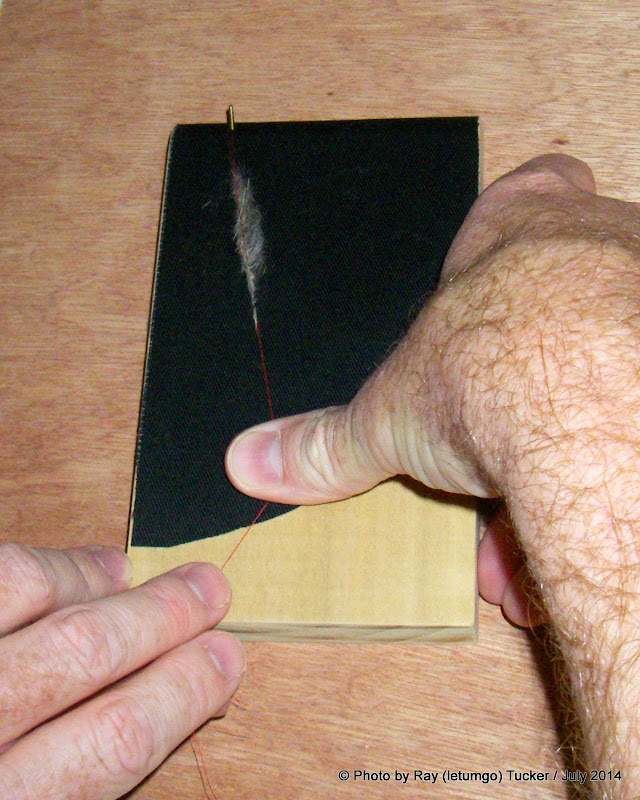

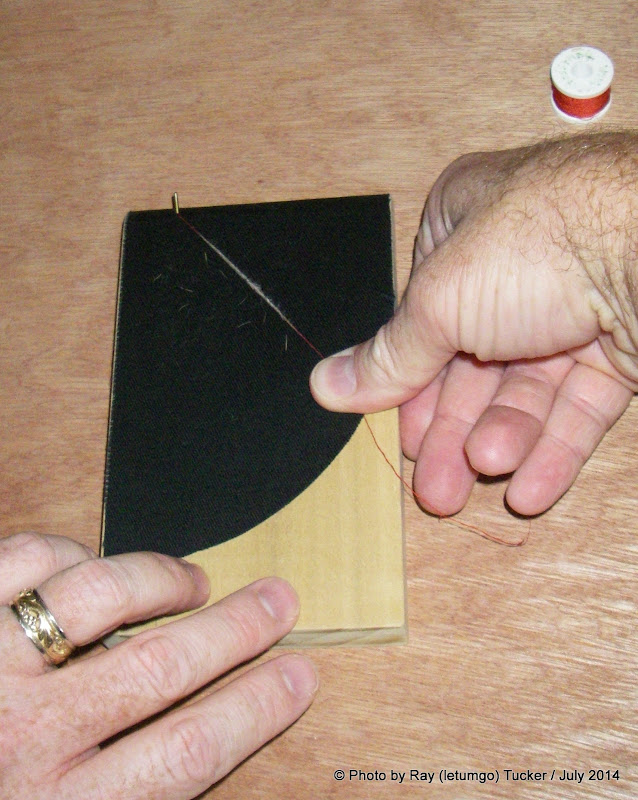
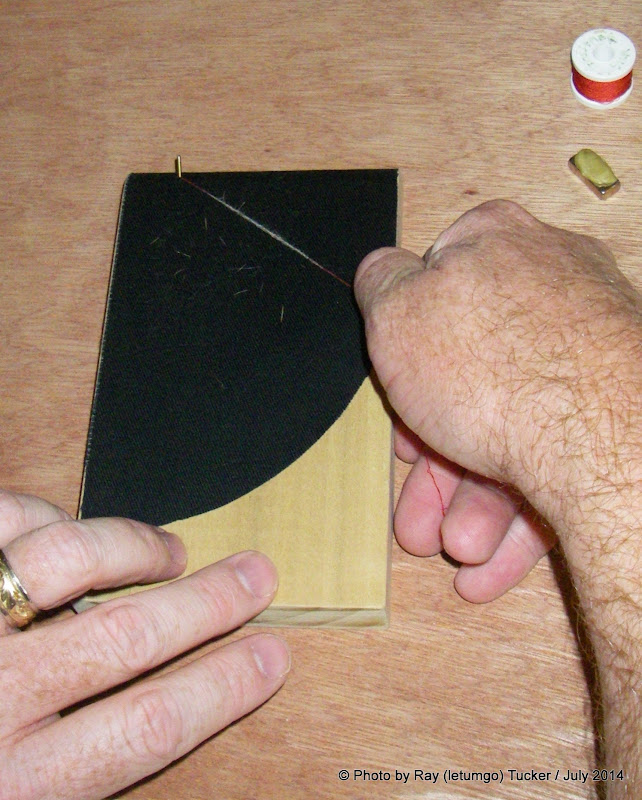

Additional Notes - The new block is larger than normal blocks (3.5" wide by 6" long). The metal pin has been off-set to roughly 3/4" from left edge (I'm right handed). The fabric has been trimmed in the shape of a curve, to indicate direction of sweep.
VIDEO LINK (YouTube):
Anyway, here are a few photos and a link to a YouTube video showing the technique. Give it a try. It's a pretty neat method of making flymph bodies.
Jim also demonstrated a neat way to quickly form tapered bodies. Using a set of tweezers, grasp a whispy thin layer of dubbing out of the package, then trim the edges to form a elongated triangle taper.
Lay the dubbing on the already waxed silk thread. Note that the layer of dubbing should be thin enough to still see the silk thread underneath.
Lay the opposite strand of waxed silk over the top of the dubbing layer and adjust the dubbing as needed (i.e. - poke it around until you are happy with the distribution).
Additional Notes - The new block is larger than normal blocks (3.5" wide by 6" long). The metal pin has been off-set to roughly 3/4" from left edge (I'm right handed). The fabric has been trimmed in the shape of a curve, to indicate direction of sweep.
