Preparing Bird Skins
Posted: Mon Jan 20, 2014 10:25 pm
I got a call from a buddy this morning, who told me he wanted to work his new dog. Would I be interested in some feathers, he wondered, were he to get lucky?
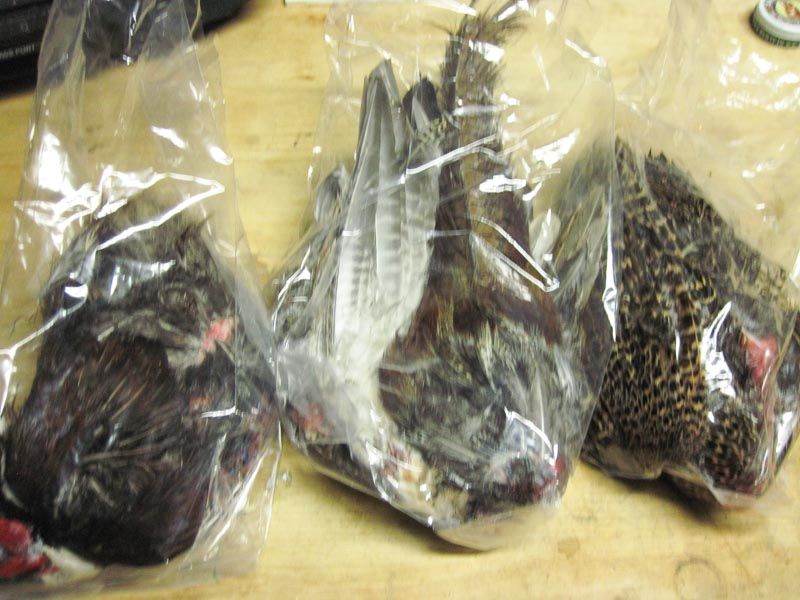
I said, "Heck yeah," and he called me a few hours later to say they had been successful -- in fact, he had skinned out a male and female ringneck pheasant for me, if I wanted to stop by and pick them up.
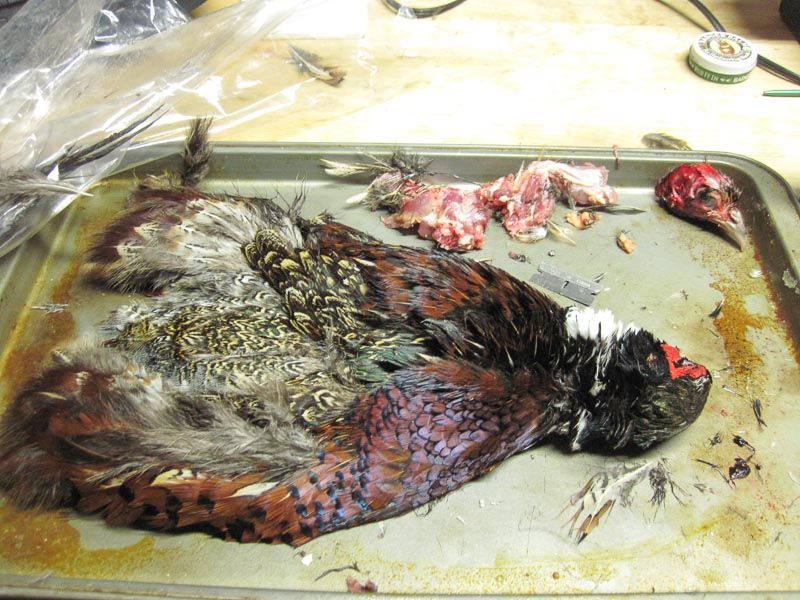
A little while later, these were in my basement, ready for some fun:
I've always wanted to try to prepare skins myself, and have been looking forward to such an opportunity (I mentioned this to the friend who provided the skins, which is why he called me in the first place). I thought some here might enjoy following along in the learning process -- comments, corrections and all such most welcome. And I should apologize, because I used my little point & shoot for the photos, to keep the gore on my DSLR to a bare minimum.
On that note, I should mention for those squeamish folks that, since I'm dealing with recently alive critters, there will be blood and gore pictured, although not gratuitously. If that isn't your thing, this might not be a good thread for you, or maybe you can just skip down to the end.
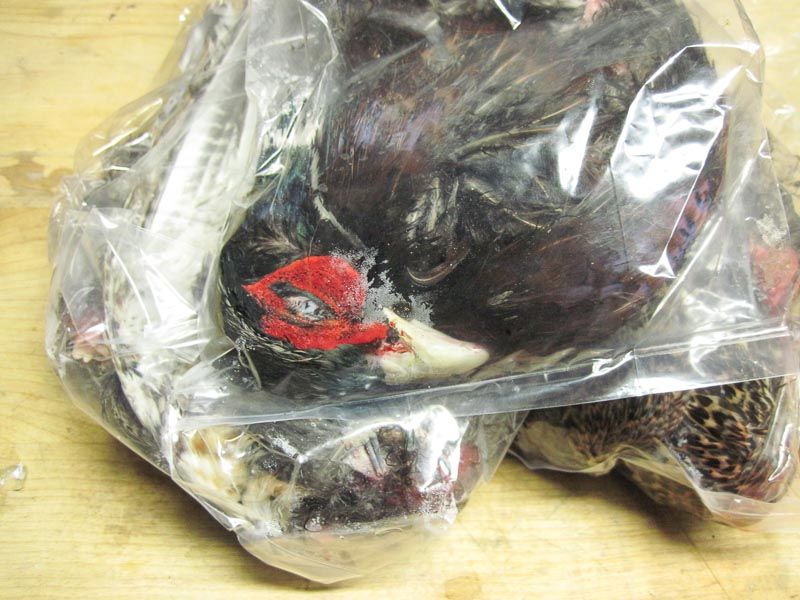
So I read a bunch of stuff online about preparing skins. The best I found was by Kirk Dietrich on another forum, who has worked as a taxidermist; I tended to follow his directions. Step one seems to be fleshing out and defatting the skins.
This is what I started out with:
For getting rid of fat and flesh, Kirk Dietrich recommends using a wire brush mounted in a drill or grinder. That seems, well, quite messy: although I did this in my workshop in the basement, my (vegetarian) wife passes nearby to use the laundry room, and would not have been happy finding the inevitable bird bits I failed to spot and clean up. So by hand it was.
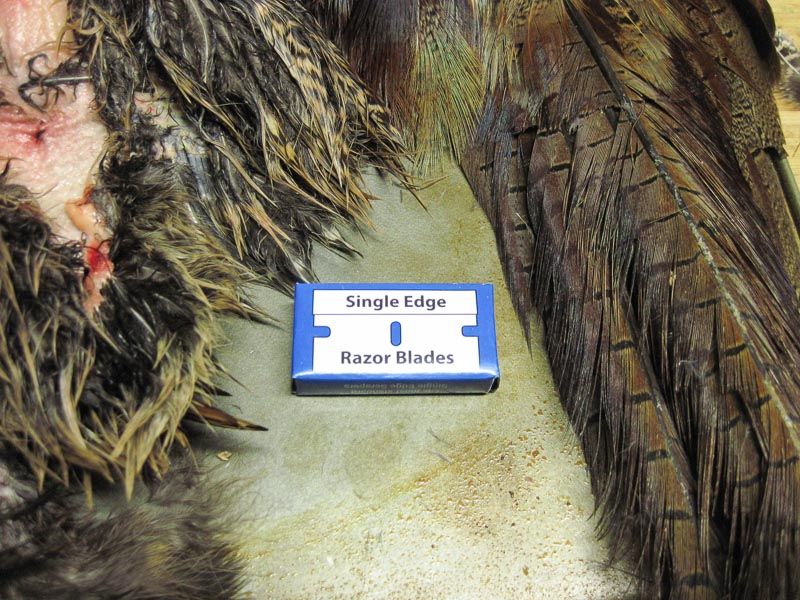
Although I have a fabulous Ol' Timer skinning knife, I figured a razor would be best for what I had to do. Plus I wouldn't have to go from the basement to the third floor to get it.
My friend had done an excellent job at skinning the birds. There was a bit of fat to remove, and score what I couldn't cut or scrape off, but the hard bits were the removing the flesh & bone of the wing and the skull.
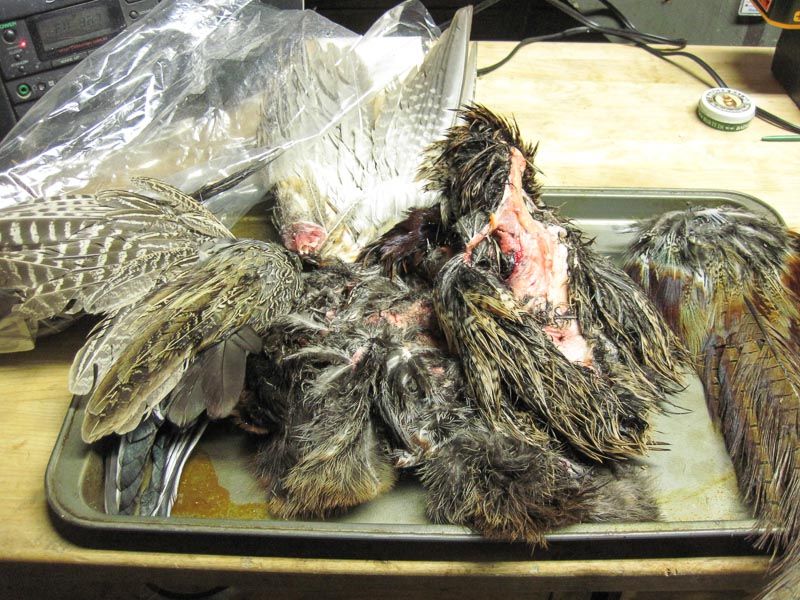
I probably did it wrong, but here's what removing the humerus, ulna and radius looked like the second time through:
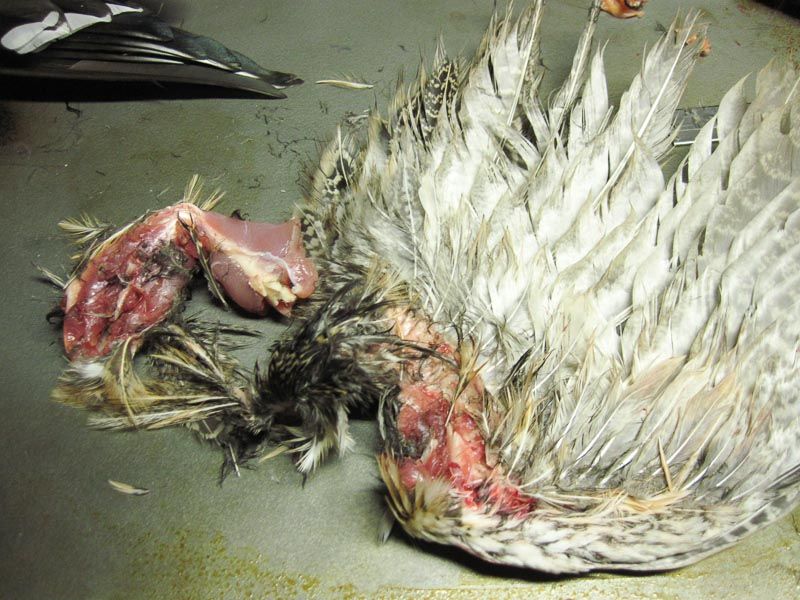
That's what we call a wing here in Buffalo. By the fourth one, I had it down.
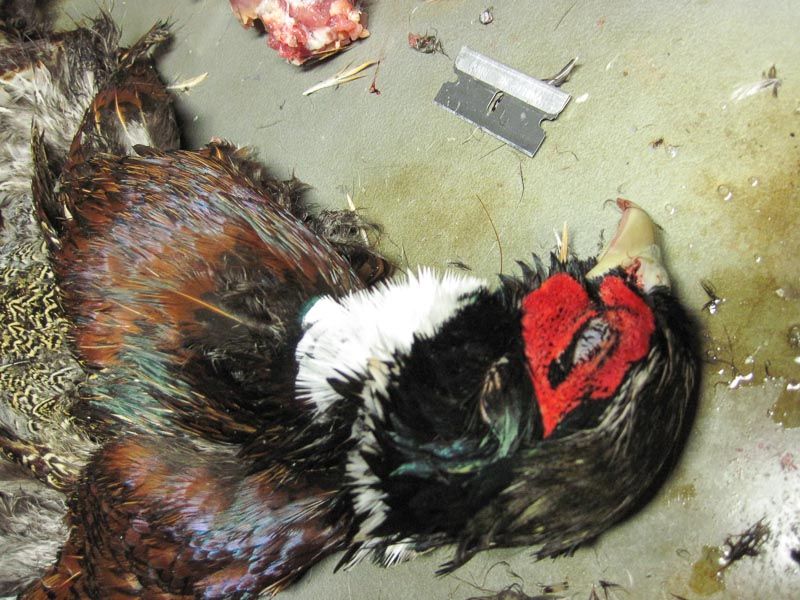
The skull was a little more tricky. My friend had kept the heads on, thankfully -- it's where all the good soft hackle feathers are, as you all know -- but I wasn't sure how to go about it. Although all the good skins I have seem to have part of the beak attached, I chose to leave the beak behind because I had no idea how to do it correctly. It didn't turn out too badly, it would seem.
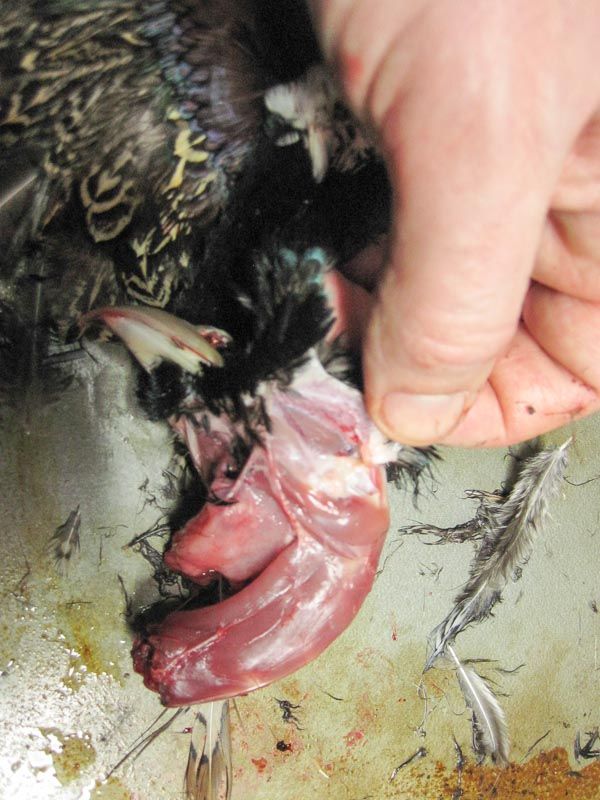
this is as the skin is being removed from the skull:
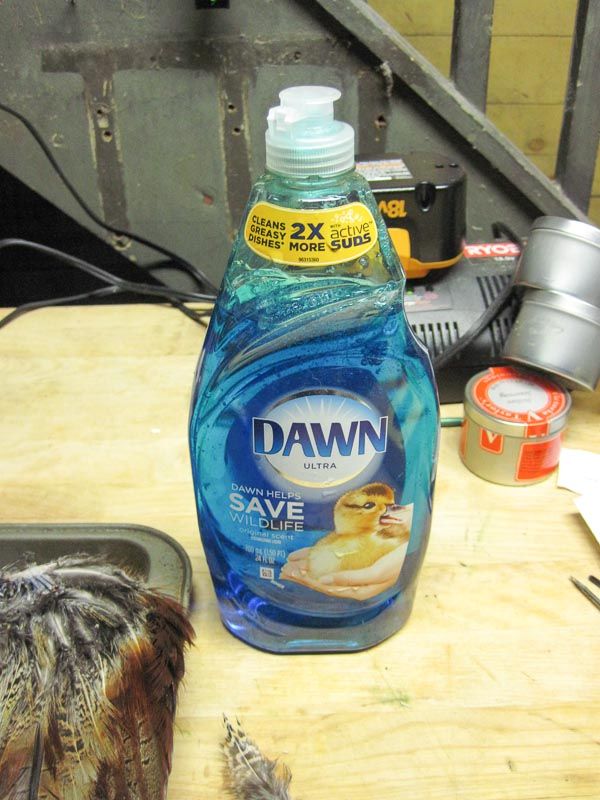
Next step: cleaning. Dawn seems to be universally recommended. I hope you appreciate the irony as much as I did.
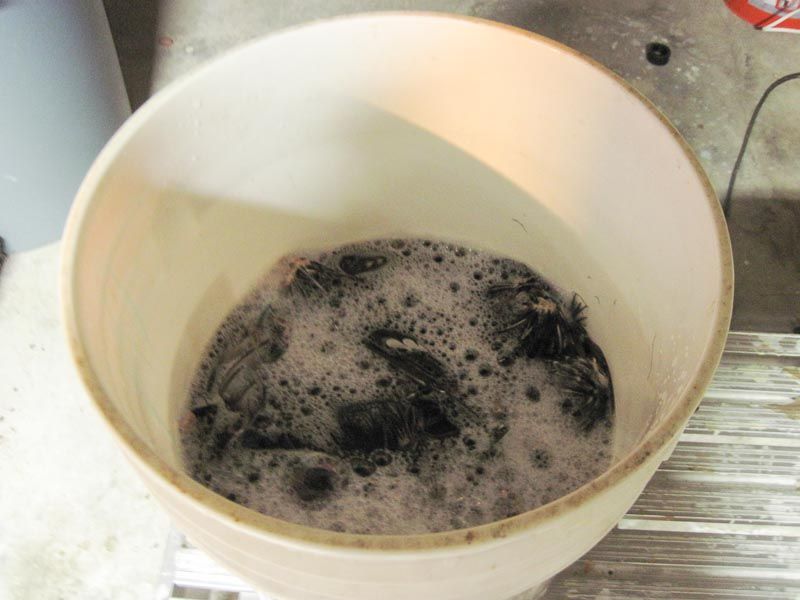
Massage, agitate and rinse. Words to live by.
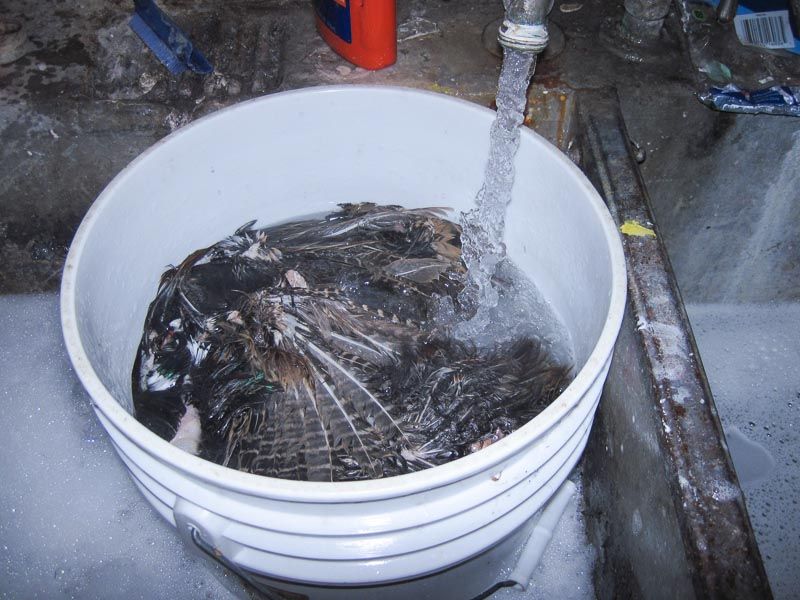
Some will go from clean water to gasoline, but that seems a little extreme. And flammable. I'm sure it kills any critters that might be hanging around, though.
Once they're rinsed of the soap, roll them in a big fluffy towel to dry. Don't use one of your bathroom towels. If you do, don't photograph it so as far as your wife's concerned, it never happened.
Next step: the drying / curing medium. The big choice here seems to be salt, Borax, or a mix thereof. I was going to go with a mix, but opted for the borax-only method when I realized I forgot to buy kosher salt.
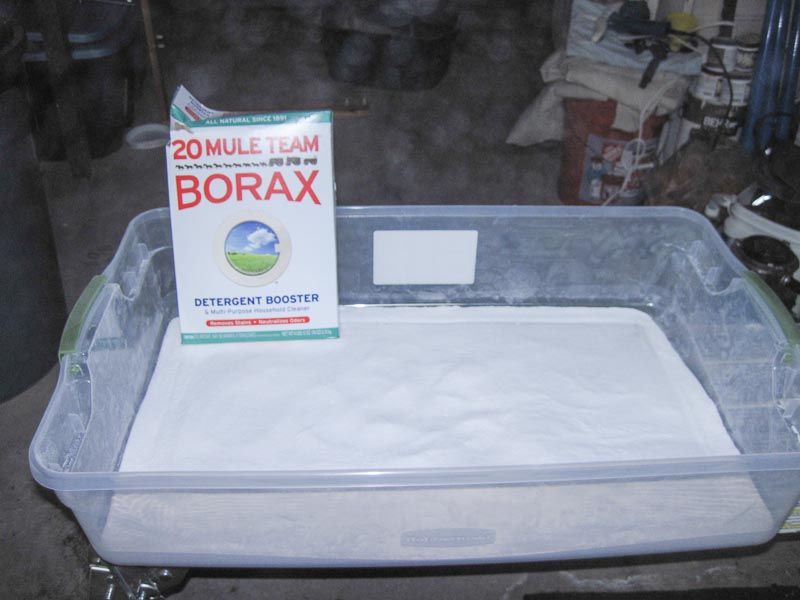
Rub the borax into the skin side (or where the meat was).

Different sources give different suggestions about the next step: place the boraxed side down on newspapers, hang in dry air, etc. Kirk Dietrich suggested laying the treated side down in a quarter inch of borax in a plastic tub, and gently massaging some borax into the feathers side as well. Sounds reasonable.
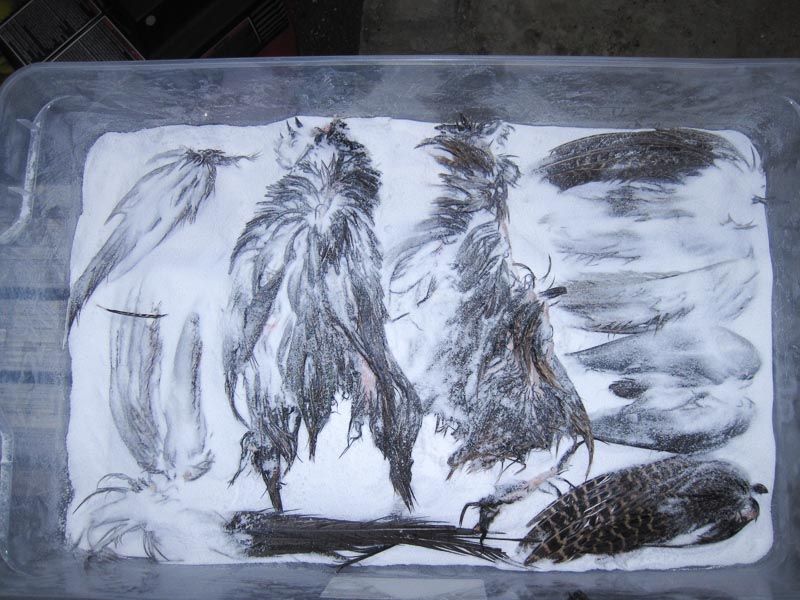
Then wait three or four days, and check what's gone on.
To be continued....
(comments, corrections, and critiques most welcome).
I said, "Heck yeah," and he called me a few hours later to say they had been successful -- in fact, he had skinned out a male and female ringneck pheasant for me, if I wanted to stop by and pick them up.
A little while later, these were in my basement, ready for some fun:


I've always wanted to try to prepare skins myself, and have been looking forward to such an opportunity (I mentioned this to the friend who provided the skins, which is why he called me in the first place). I thought some here might enjoy following along in the learning process -- comments, corrections and all such most welcome. And I should apologize, because I used my little point & shoot for the photos, to keep the gore on my DSLR to a bare minimum.
On that note, I should mention for those squeamish folks that, since I'm dealing with recently alive critters, there will be blood and gore pictured, although not gratuitously. If that isn't your thing, this might not be a good thread for you, or maybe you can just skip down to the end.
So I read a bunch of stuff online about preparing skins. The best I found was by Kirk Dietrich on another forum, who has worked as a taxidermist; I tended to follow his directions. Step one seems to be fleshing out and defatting the skins.
This is what I started out with:

For getting rid of fat and flesh, Kirk Dietrich recommends using a wire brush mounted in a drill or grinder. That seems, well, quite messy: although I did this in my workshop in the basement, my (vegetarian) wife passes nearby to use the laundry room, and would not have been happy finding the inevitable bird bits I failed to spot and clean up. So by hand it was.
Although I have a fabulous Ol' Timer skinning knife, I figured a razor would be best for what I had to do. Plus I wouldn't have to go from the basement to the third floor to get it.

My friend had done an excellent job at skinning the birds. There was a bit of fat to remove, and score what I couldn't cut or scrape off, but the hard bits were the removing the flesh & bone of the wing and the skull.
I probably did it wrong, but here's what removing the humerus, ulna and radius looked like the second time through:

That's what we call a wing here in Buffalo. By the fourth one, I had it down.
The skull was a little more tricky. My friend had kept the heads on, thankfully -- it's where all the good soft hackle feathers are, as you all know -- but I wasn't sure how to go about it. Although all the good skins I have seem to have part of the beak attached, I chose to leave the beak behind because I had no idea how to do it correctly. It didn't turn out too badly, it would seem.


this is as the skin is being removed from the skull:

Next step: cleaning. Dawn seems to be universally recommended. I hope you appreciate the irony as much as I did.


Massage, agitate and rinse. Words to live by.

Some will go from clean water to gasoline, but that seems a little extreme. And flammable. I'm sure it kills any critters that might be hanging around, though.
Once they're rinsed of the soap, roll them in a big fluffy towel to dry. Don't use one of your bathroom towels. If you do, don't photograph it so as far as your wife's concerned, it never happened.
Next step: the drying / curing medium. The big choice here seems to be salt, Borax, or a mix thereof. I was going to go with a mix, but opted for the borax-only method when I realized I forgot to buy kosher salt.

Rub the borax into the skin side (or where the meat was).

Different sources give different suggestions about the next step: place the boraxed side down on newspapers, hang in dry air, etc. Kirk Dietrich suggested laying the treated side down in a quarter inch of borax in a plastic tub, and gently massaging some borax into the feathers side as well. Sounds reasonable.

Then wait three or four days, and check what's gone on.
To be continued....
(comments, corrections, and critiques most welcome).