Photographing flies for Dummies by a Dummy...
Posted: Mon Dec 19, 2011 7:58 am
I've been asked by quite a few people how to take decent photos of flies in my time. Instead of sending a PM I thought that I'd put up a public post for everyone's benefit. I'm currently abroad so don't have my home photo setup with me, hence the dodgy illustrations...
This is by no means the only way or best way of getting a decent photo. It is however a very basic, cheap, quick and simple way of taking what I believe are great macro shots of your flies
Please don't be put off by all the info or think that it's too complicated, it's not. I know there is a lot of info to wade through, I've been very thorough and assumed a complete lack of knowledge for the benefit of those that need it. It's tough to put into writing without writing a small novella
What you'll need before you get started:
Camera
Tripod
Light Source: 3 of for best results. I recommend a desk-lamp as a primary (I use my tying light) and 2X clamp on style lamps. You can get away with just two if you like.
Light Bulbs: This is crucial to get a good result! 3X the same colour temperature bulbs! The best results will be with daylight balanced bulbs. However if you can't get them or have three other temp bulbs handy it will still work, as long as they are all the same!
Tracing paper: To act as diffusers, this will give you a softer quality of light.
Rubber Bands: For attaching the later, we're high tech around here.
Backdrops: I use various coloured sheets of art paper which I keep stuck together at one edge (the top edge) so I can page through and select the colour I want. Ikeep mine stuck to the top edge of a carton box so that I can position it behind the vise when ready to take a photo. It also doubles as a good sight board, if a little oversized.
The diagram should give you an idea of the setup. The thing missing is the tripod and camera in front of the table/subject. I usually keep my tripod setup at the optimal height so it's good to go when I need it. I find that having the tripod setup, the light source handy and ready to go allows me to take more pics as it's less of an ordeal than setting up the equipment every time.

Here's the result of one such photo, taken on a cheap compact camera.

Important settings for your camera.
Compact cameras give the best results for taking macro photos on a budget. If you have a DSLR with a dedicated Macro lens obviously you will have even more scope and control.
1. Select Macro mode as your shooting mode. This will either be a hard button on the camera or in the cameras soft menu system.
2. Turn off the cameras flash.
3. Turn on the camera self timer, this will trip the shutter after you have removed your hands from the camera. The advantage of this is that you will get no camera shake (blurry photos) due to a long exposure.
4. Exposure compensation: Most camera's will have this, if not you're out of luck
It's recognizable as a minus positive scale either with third stop increments or half stop increments. Simply put this allows you to darken or lighten the photo. If you've taken the picture of a light coloured fly over a dark backdrop and the fly is too bright with details blown out/not visible, don't despair, just take the pic again this time setting the camera exposure dial or menu to -1. I usually take a stab at where I think the exposure will be (You get pretty good at this with time) and then two more either side of this (Called bracketing), ie. -1.5, -1, -.5 then you're bound to get one that's spot on. Once you start using exposure compensation you will use it all the time in your photography instead of relying on the camera to get it right.

I drew the icons for those of you that learn in pictures (I do) and as a quick reference.
I forgot to mention the diffusers. Take the tracing paper and scrunch it up into a small ball, then unravel it. This will be our light diffuser and the scrunched up effect aids the result. The paper need to be big enough to cover the front of your lamp shades with a bit of excess to fasten it to the lamps. I simply hold them in place with an elastic band around the lamp shade, I'll try to put up a photo for clarification at a later date. As long as the tracing paper is in front of the lamp and the light has to pass through the paper, you're in good shape.
Last but not least lets talk about the most important component of a good photo, the light.
My above/main light source doubles as my tying lamp, so it's always good to go. The two cheap clamp lights live clamped under the table, away from sight until I need them. You could use other desk lamps in their place but I find the clamp lights practical as they are more compact and don't clutter my desk space when not in use.
Think about how you illuminate your subject. My dodgy diagram doesn't show the subtleties and degree of control you have with this little light setup. You have to determine the end result you would like to the show the fly off in. What do I mean? Move the lights around to get various results. For example if you are photographing flies sitting on a fly box instead of in your vise and you would like to get long shadows in the pic don't use the overhead lamp as it will fill in the shadows in. Vice versa if you want a beautifully lit fly showing all the details, using all three lights effectively is crucial.
Your photo looks good, the body of the fly has a bright highlight on top but some of it is in shadow. In this instance move the top light so it is closer if needed and angle it so that it is pointing down and from the front, or move the front side light closer to the fly and pointing up from underneath. Sorry for waffling on, but hopefully you get the picture.
One important light feature often overlooked is back light, which gives the subject a lovely modelled effect. I usually (Not always) back light my fly by positioning the the left clamp light further away from the and slightly behind the fly angling the light pointing up from below the fly. This does two things, introduces back light and the distance determines how harsh the light is (Further away means it will be softer). Finally let the end result be your teacher, if your photo has a shadow you want to eliminate, go back to the unchanged setup and move one or a few of the lights into a position that might cure the problem. Take a shot and see if it worked, pretty simple
I hope this has helped some people and that it might spur some of you on to give posting photos a try if you haven't already. It's pretty simple, if you have a compact camera or know someone that does, give it a try. We'd all love to see you share some if your creations.
Karsten
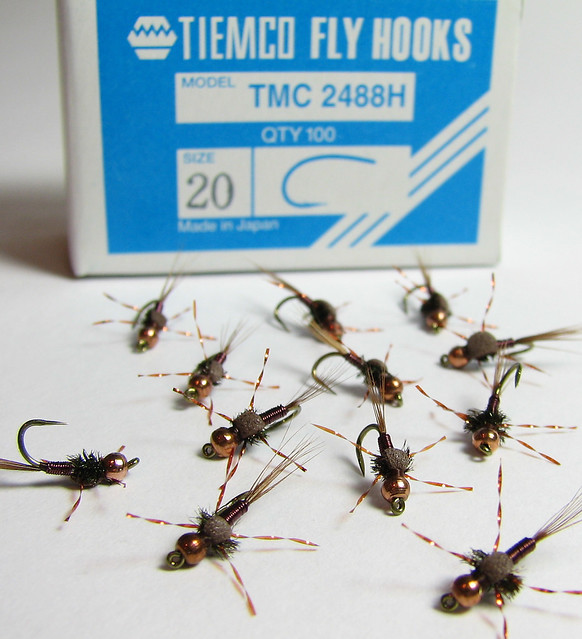
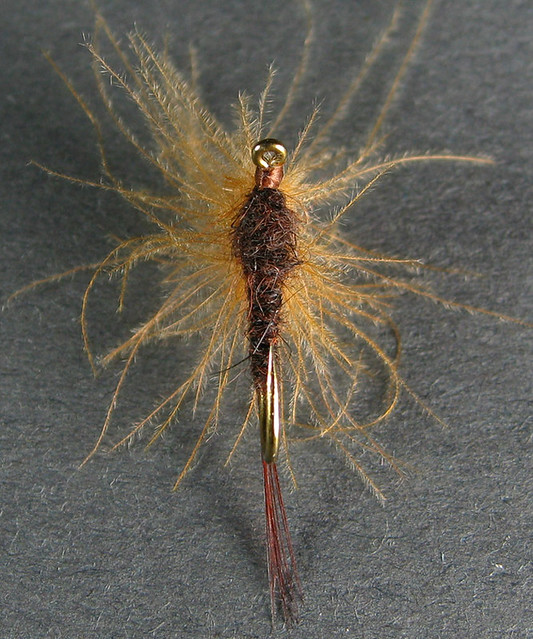
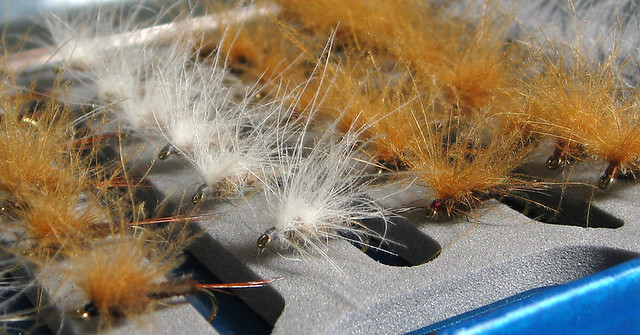
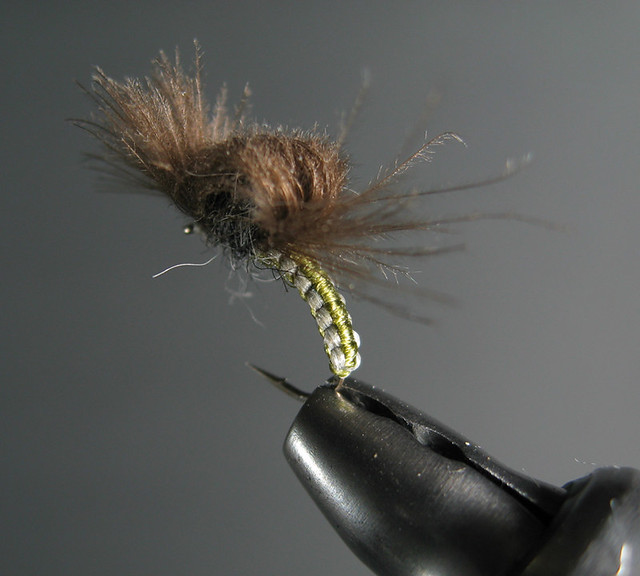
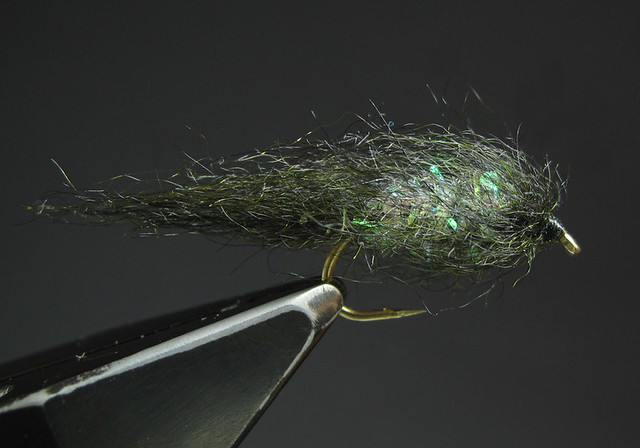
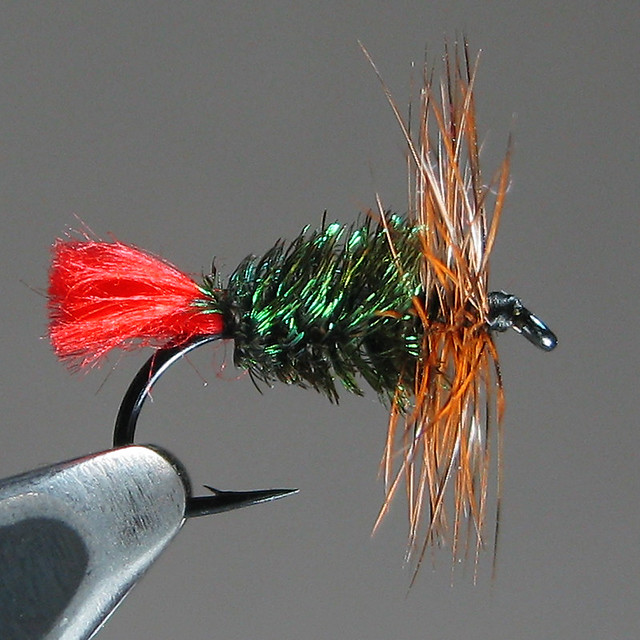
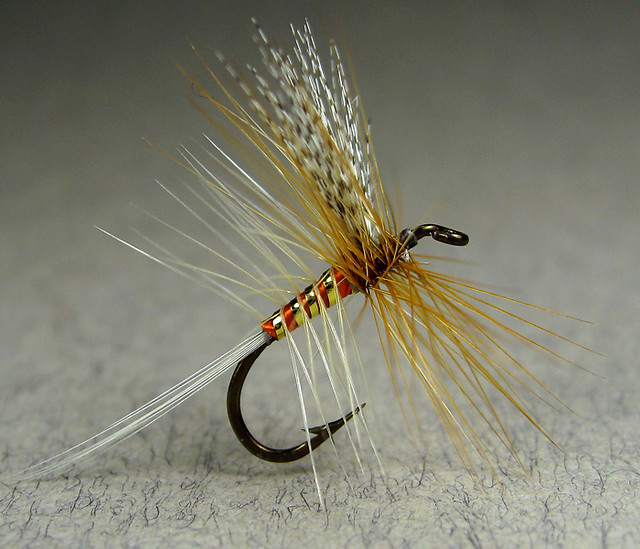
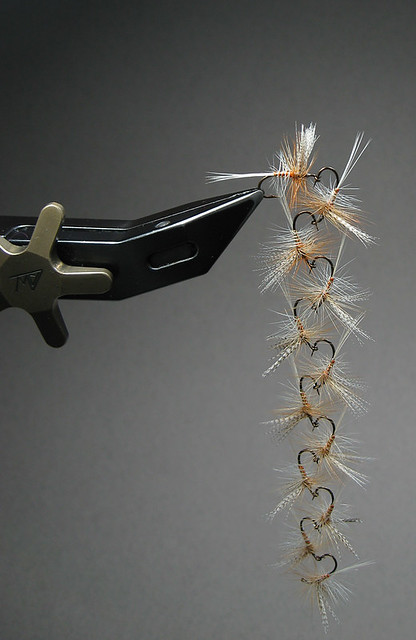
Ps. Some more of my photos of different types of flies to give you an idea of what's achievable. Sorry that they're not more appropriate in content
This is by no means the only way or best way of getting a decent photo. It is however a very basic, cheap, quick and simple way of taking what I believe are great macro shots of your flies
Please don't be put off by all the info or think that it's too complicated, it's not. I know there is a lot of info to wade through, I've been very thorough and assumed a complete lack of knowledge for the benefit of those that need it. It's tough to put into writing without writing a small novella
What you'll need before you get started:
Camera
Tripod
Light Source: 3 of for best results. I recommend a desk-lamp as a primary (I use my tying light) and 2X clamp on style lamps. You can get away with just two if you like.
Light Bulbs: This is crucial to get a good result! 3X the same colour temperature bulbs! The best results will be with daylight balanced bulbs. However if you can't get them or have three other temp bulbs handy it will still work, as long as they are all the same!
Tracing paper: To act as diffusers, this will give you a softer quality of light.
Rubber Bands: For attaching the later, we're high tech around here.
Backdrops: I use various coloured sheets of art paper which I keep stuck together at one edge (the top edge) so I can page through and select the colour I want. Ikeep mine stuck to the top edge of a carton box so that I can position it behind the vise when ready to take a photo. It also doubles as a good sight board, if a little oversized.
The diagram should give you an idea of the setup. The thing missing is the tripod and camera in front of the table/subject. I usually keep my tripod setup at the optimal height so it's good to go when I need it. I find that having the tripod setup, the light source handy and ready to go allows me to take more pics as it's less of an ordeal than setting up the equipment every time.

Here's the result of one such photo, taken on a cheap compact camera.

Important settings for your camera.
Compact cameras give the best results for taking macro photos on a budget. If you have a DSLR with a dedicated Macro lens obviously you will have even more scope and control.
1. Select Macro mode as your shooting mode. This will either be a hard button on the camera or in the cameras soft menu system.
2. Turn off the cameras flash.
3. Turn on the camera self timer, this will trip the shutter after you have removed your hands from the camera. The advantage of this is that you will get no camera shake (blurry photos) due to a long exposure.
4. Exposure compensation: Most camera's will have this, if not you're out of luck
It's recognizable as a minus positive scale either with third stop increments or half stop increments. Simply put this allows you to darken or lighten the photo. If you've taken the picture of a light coloured fly over a dark backdrop and the fly is too bright with details blown out/not visible, don't despair, just take the pic again this time setting the camera exposure dial or menu to -1. I usually take a stab at where I think the exposure will be (You get pretty good at this with time) and then two more either side of this (Called bracketing), ie. -1.5, -1, -.5 then you're bound to get one that's spot on. Once you start using exposure compensation you will use it all the time in your photography instead of relying on the camera to get it right.
I drew the icons for those of you that learn in pictures (I do) and as a quick reference.
I forgot to mention the diffusers. Take the tracing paper and scrunch it up into a small ball, then unravel it. This will be our light diffuser and the scrunched up effect aids the result. The paper need to be big enough to cover the front of your lamp shades with a bit of excess to fasten it to the lamps. I simply hold them in place with an elastic band around the lamp shade, I'll try to put up a photo for clarification at a later date. As long as the tracing paper is in front of the lamp and the light has to pass through the paper, you're in good shape.
Last but not least lets talk about the most important component of a good photo, the light.
My above/main light source doubles as my tying lamp, so it's always good to go. The two cheap clamp lights live clamped under the table, away from sight until I need them. You could use other desk lamps in their place but I find the clamp lights practical as they are more compact and don't clutter my desk space when not in use.
Think about how you illuminate your subject. My dodgy diagram doesn't show the subtleties and degree of control you have with this little light setup. You have to determine the end result you would like to the show the fly off in. What do I mean? Move the lights around to get various results. For example if you are photographing flies sitting on a fly box instead of in your vise and you would like to get long shadows in the pic don't use the overhead lamp as it will fill in the shadows in. Vice versa if you want a beautifully lit fly showing all the details, using all three lights effectively is crucial.
Your photo looks good, the body of the fly has a bright highlight on top but some of it is in shadow. In this instance move the top light so it is closer if needed and angle it so that it is pointing down and from the front, or move the front side light closer to the fly and pointing up from underneath. Sorry for waffling on, but hopefully you get the picture.
One important light feature often overlooked is back light, which gives the subject a lovely modelled effect. I usually (Not always) back light my fly by positioning the the left clamp light further away from the and slightly behind the fly angling the light pointing up from below the fly. This does two things, introduces back light and the distance determines how harsh the light is (Further away means it will be softer). Finally let the end result be your teacher, if your photo has a shadow you want to eliminate, go back to the unchanged setup and move one or a few of the lights into a position that might cure the problem. Take a shot and see if it worked, pretty simple
I hope this has helped some people and that it might spur some of you on to give posting photos a try if you haven't already. It's pretty simple, if you have a compact camera or know someone that does, give it a try. We'd all love to see you share some if your creations.
Karsten
Ps. Some more of my photos of different types of flies to give you an idea of what's achievable. Sorry that they're not more appropriate in content


