Sylvester Nemes’ Mother’s Day Caddis
Posted: Sat Feb 26, 2022 4:51 pm
Sylvester Nemes’ Mother’s Day Caddis
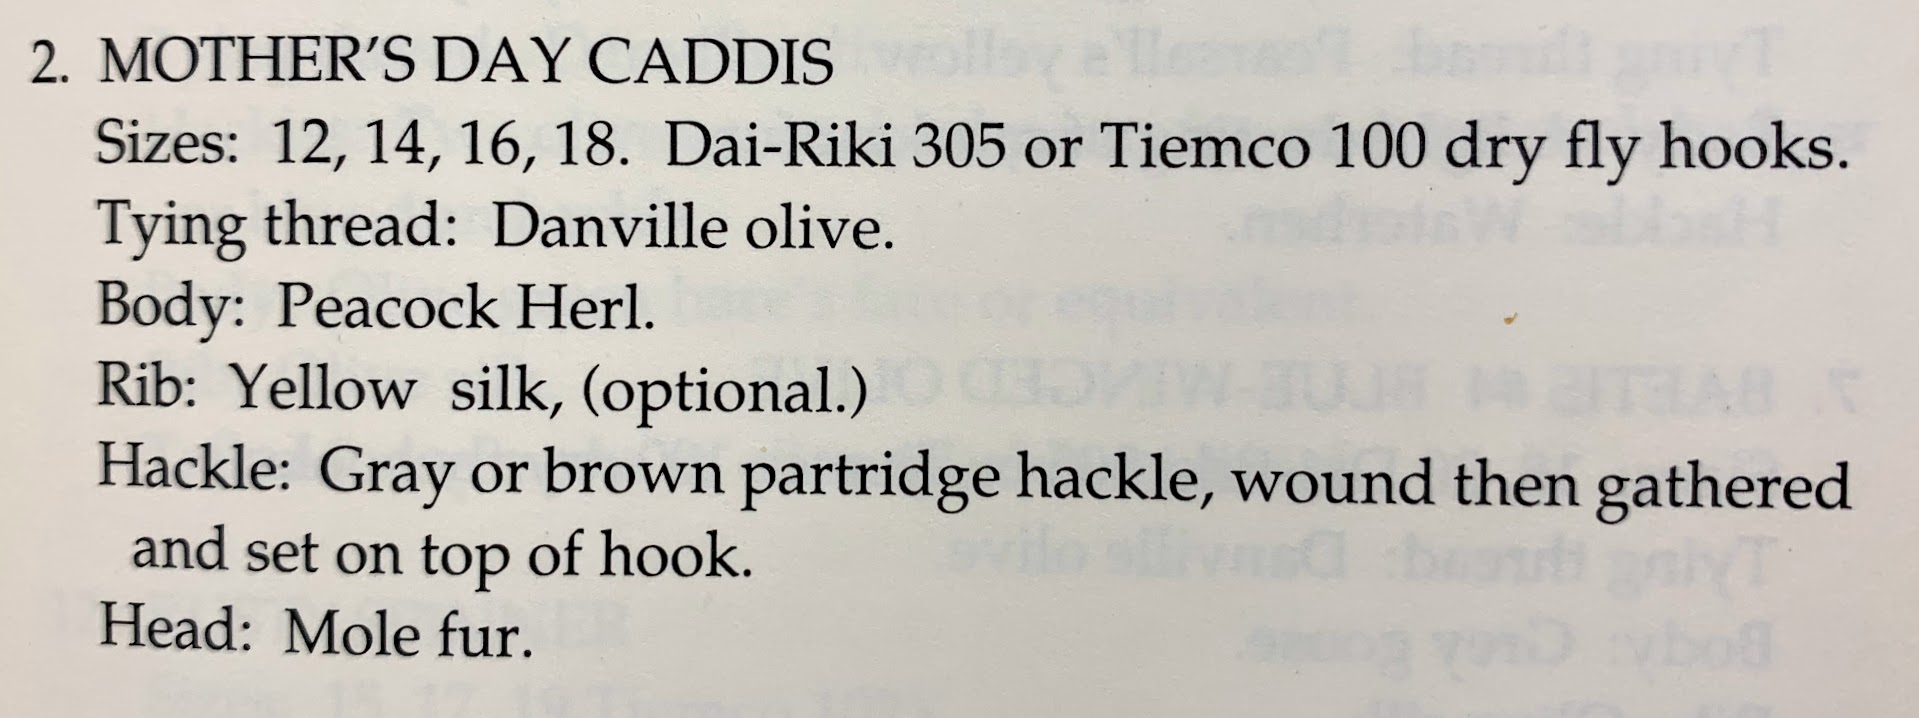
Hook - TMC Model 102Y / Size 13 (*)
Thread - 8/0 UNI-Thread (Olive)
Hackle Wing - Hungarian Partridge (wound around hook then gathered together and set on top of hook)
Tag/Rib - Pearsall's Gossomer Silk (Yellow) / OPTIONAL
Abdomen - Four Strands of Peacock Herl (Natural)
Thorax - Mole Fur
(*) Mr. Nemes recipe lists hook sizes 12, 14, 16 & 18 (Dai-Riki 305 or Tiemco 100 dry fly hooks). He was also a fan of the TMC Model 102Y hook, which is what is shown in the example in the book and what I've used here.
Example without the yellow silk rib, as tyed by Syl Nemes:

Pattern as listed in his book:
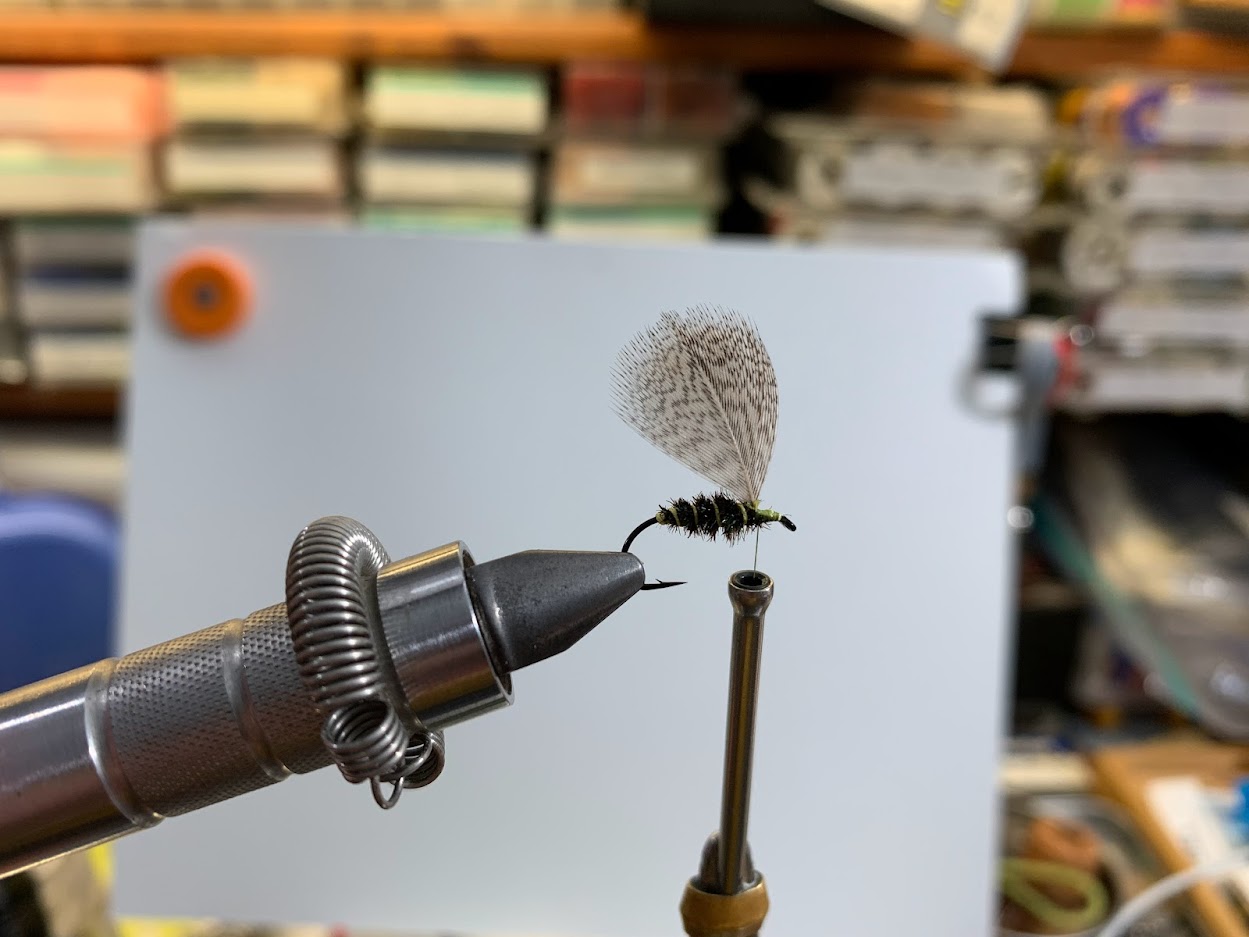
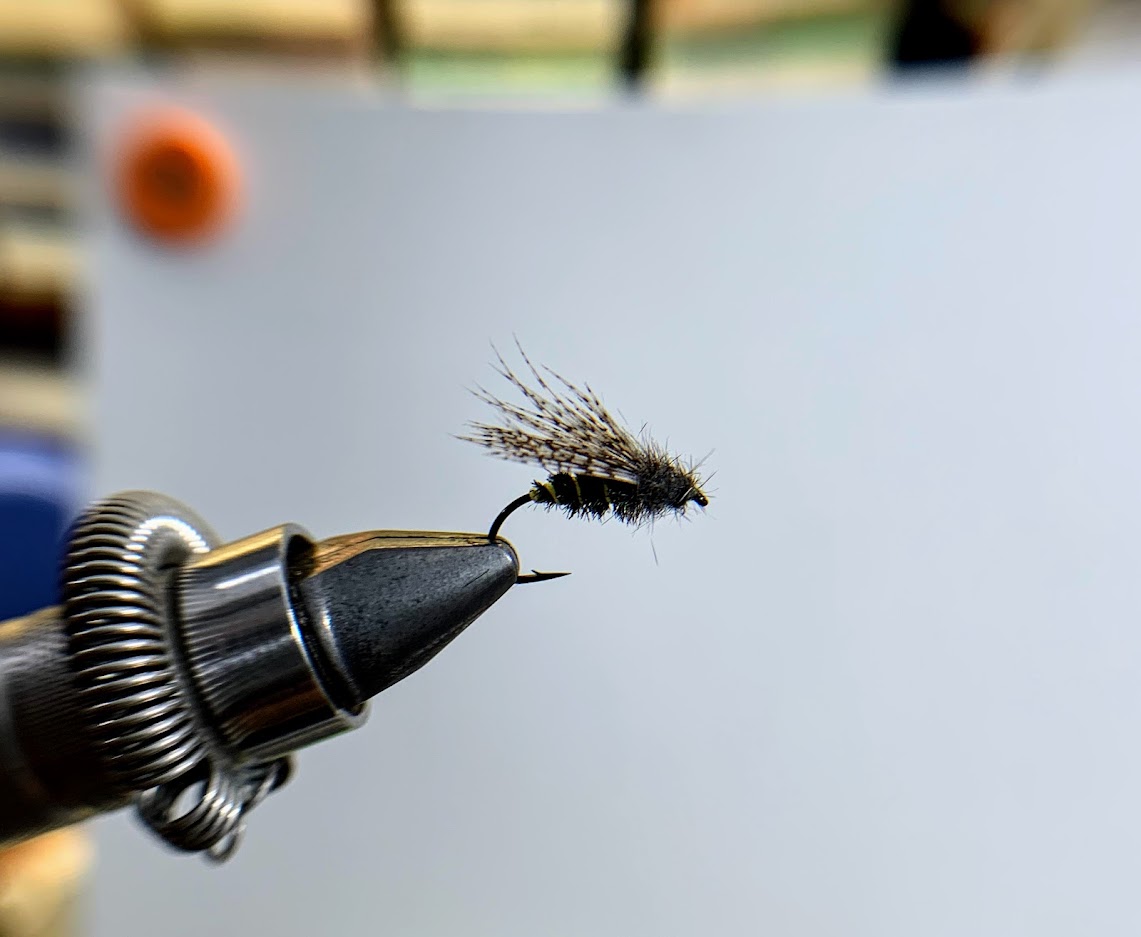
Sylvester Nemes' "Mother's Day Caddis", with optional yellow silk rib. Mr. Nemes tyed this pattern with and without the yellow rib. I am tying it here with the yellow rib for our upcoming swap. You don't often see the version with the silk rib.
DETAILED TYING INSTRUCTIONS: / Tying Instructions by Ray (letumgo) Tucker / 27FEB22
• Step 1 - Material Preparation: As you can see in the first photo below, I have I have collected the necessary materials for tying this fly; a moleskin, olive thread prepared Hungarian Partridge feathers, along with Pearsall's Gossomer silk yellow, hooks and natural Peacock herl. The materials in this fly are per the recipe of Sylvester Nemes, and can be found in his book entitled “Soft-Hackled Fly Imitations” (see pattern listed on page 101 in the Appendix of the book).
• Step 2 - Mount the hook in your vice and attach your tying thread just behind the eye of the hook, then in close touching turns wrap the tying thread rearwards roughly 1/3 the length of the hook shank.
• Step 3 - Attach the Partridge hackle by the stem with a few tight wraps of thread.
• Step 4 - Select 4 strands of Peacock herl, even the tips and break off roughly 1.5 inches from the tips. Then tie in the strands of peacock by the tips with several more firm wraps of thread.
• Step 5 - Clip a strand of Pearsall's Gossomer silk roughly 10 inches long. Fold the strand of silk in half twice, forming four parallel strands. Secure this to the hook.
• Step 6 - While gently pulling on the strands of Peacock herl and silk, wrap the tying thread back to the barb of the hook, forming a smooth underbody.
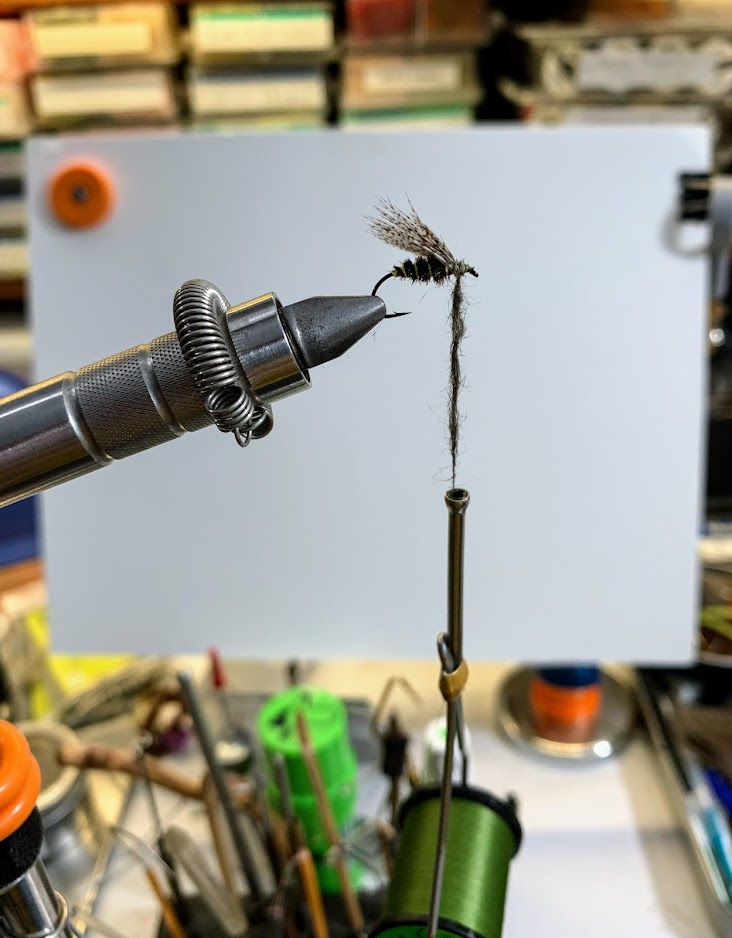
• Step 7 - Form a loop of thread (dubbing loop) slightly shorter than the Peacock herl fibers, then wrap the tying thread forward to be base of the hackle. Insert a Shepherd’s hook tool into the dubbing loop and grasp the strands of peacock herl. Carefully twist the peacock into a herl chenille. Be careful not to over twist the rope, since it can break the strands of herl.
• Step 8 - Wind the herl chenille forward and secure at the base of the hackle.
• Step 9 – Twist the strands of silk together, then counter wrap one full turn at the back of the fly, then forward in open spiral wraps. This will help segment the body.
• Step 10 - Wrap the partridge hackle around the hook, then secure with the tying thread. For this pattern, I like to use the entire hackle.
• Step 11 – Collect the hackle fibers together and pull them all up over the back of the fly. Bind them down with wraps of tying thread. The fibers will form a soft mottled wing, along the top of the fly. Thread wraps over the hackle stem and fibers makes the fly very durable.
• Step 12 – Dub a couple inches of the tying thread with natural colored mole fur dubbing. Wrap this in front of the hackle wing, forming the thorax of the fly.
• Step 13 – Form a neat head with two whip finishes
• Step 14 – Add a drop of clear nail polish to the head, finishing the fly.
NOTES ON TYING SEQUENCE:
- Elimination of the silk rib makes the fly easier to tye and probably equally effective as a fishing fly.
- The hackle could by tyed in after the rear peacock body has been formed. Tying the hackle in by the tip would probably be simpler, but I like tying hackle in by the stem for general durability and to help taper the under body somewhat. May simply be a style choice.
- The silk thread is a single strand of silk thread folded twice to form four strands. The silk is twisted together into a cord before wrapping forward. I did not wax the silk, but may try some with wax. The unwaxed silk with likely darken once the pattern is wet.
PICTORIAL TYING SEQUENCE:







Finished set of swap flies:

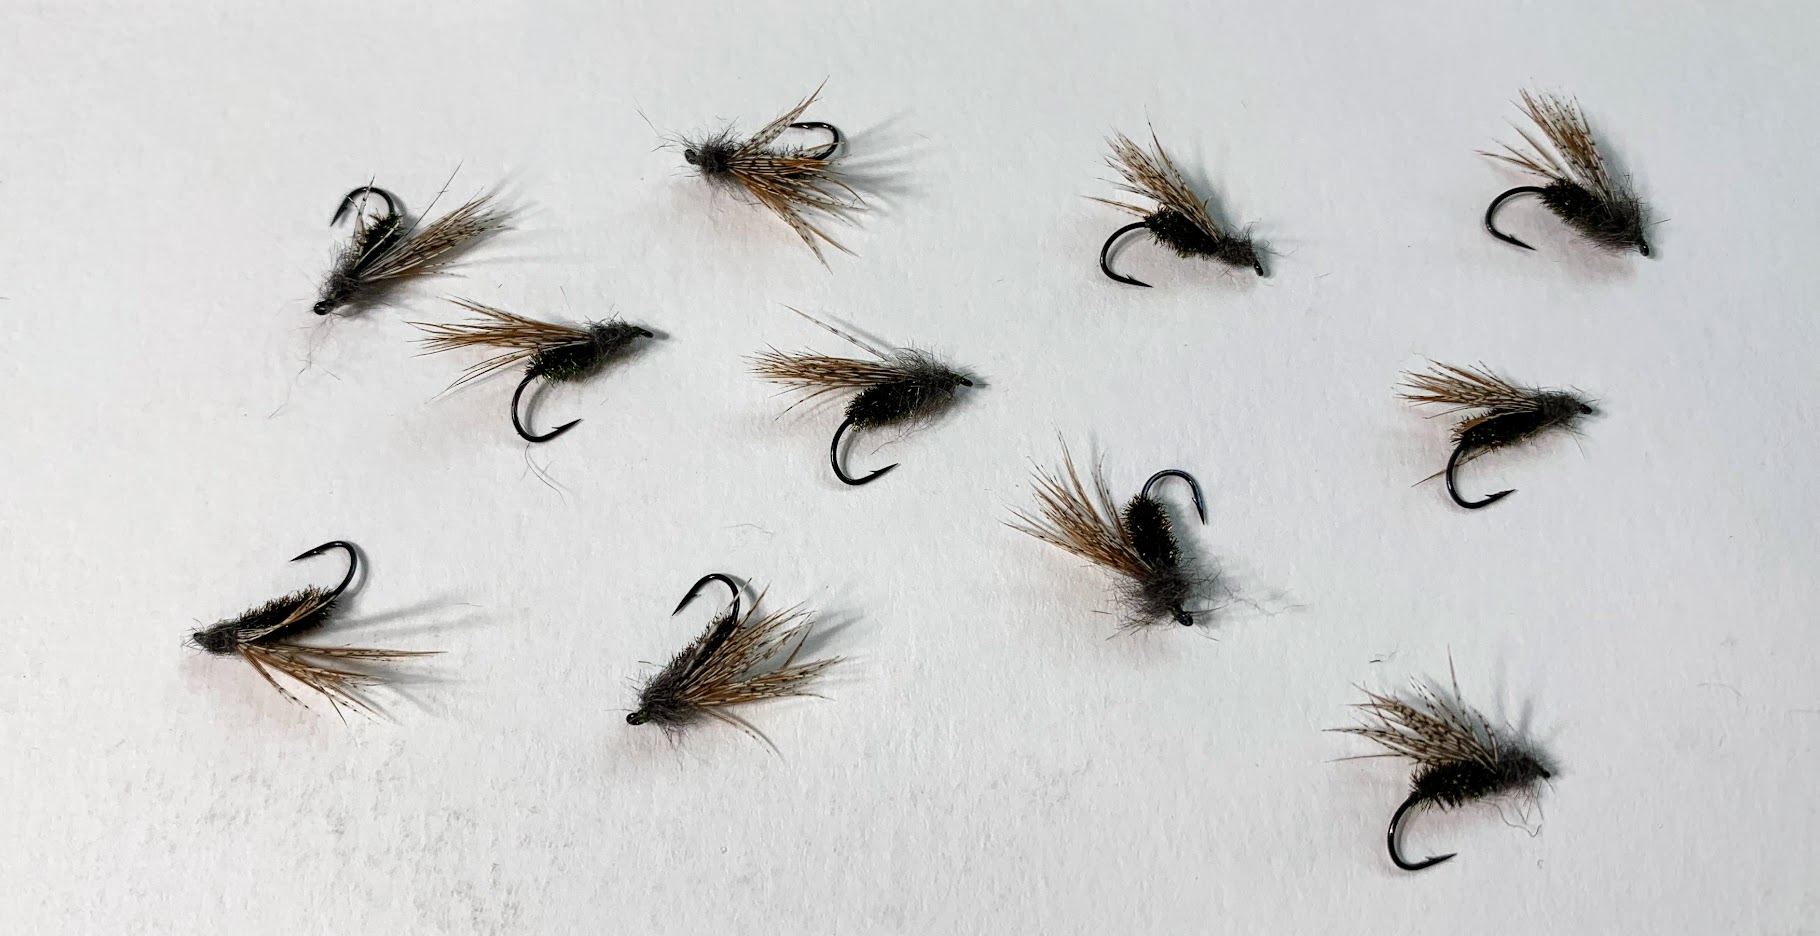
Here are a couple more pictures. The first one shows the version tyed without the yellow silk rib, and using brown barred Hungarian Patridge shoulder hackles.
Side-by-Side Photo:

The ones on the left were tyed with brown barred hackle (shoulder region). The ones on the right are tyed with gray hackle (middle back region), plus yellow silk rib.
Either way, they are very effective flies...
Hook - TMC Model 102Y / Size 13 (*)
Thread - 8/0 UNI-Thread (Olive)
Hackle Wing - Hungarian Partridge (wound around hook then gathered together and set on top of hook)
Tag/Rib - Pearsall's Gossomer Silk (Yellow) / OPTIONAL
Abdomen - Four Strands of Peacock Herl (Natural)
Thorax - Mole Fur
(*) Mr. Nemes recipe lists hook sizes 12, 14, 16 & 18 (Dai-Riki 305 or Tiemco 100 dry fly hooks). He was also a fan of the TMC Model 102Y hook, which is what is shown in the example in the book and what I've used here.
Example without the yellow silk rib, as tyed by Syl Nemes:
Pattern as listed in his book:
Sylvester Nemes' "Mother's Day Caddis", with optional yellow silk rib. Mr. Nemes tyed this pattern with and without the yellow rib. I am tying it here with the yellow rib for our upcoming swap. You don't often see the version with the silk rib.
DETAILED TYING INSTRUCTIONS: / Tying Instructions by Ray (letumgo) Tucker / 27FEB22
• Step 1 - Material Preparation: As you can see in the first photo below, I have I have collected the necessary materials for tying this fly; a moleskin, olive thread prepared Hungarian Partridge feathers, along with Pearsall's Gossomer silk yellow, hooks and natural Peacock herl. The materials in this fly are per the recipe of Sylvester Nemes, and can be found in his book entitled “Soft-Hackled Fly Imitations” (see pattern listed on page 101 in the Appendix of the book).
• Step 2 - Mount the hook in your vice and attach your tying thread just behind the eye of the hook, then in close touching turns wrap the tying thread rearwards roughly 1/3 the length of the hook shank.
• Step 3 - Attach the Partridge hackle by the stem with a few tight wraps of thread.
• Step 4 - Select 4 strands of Peacock herl, even the tips and break off roughly 1.5 inches from the tips. Then tie in the strands of peacock by the tips with several more firm wraps of thread.
• Step 5 - Clip a strand of Pearsall's Gossomer silk roughly 10 inches long. Fold the strand of silk in half twice, forming four parallel strands. Secure this to the hook.
• Step 6 - While gently pulling on the strands of Peacock herl and silk, wrap the tying thread back to the barb of the hook, forming a smooth underbody.
• Step 7 - Form a loop of thread (dubbing loop) slightly shorter than the Peacock herl fibers, then wrap the tying thread forward to be base of the hackle. Insert a Shepherd’s hook tool into the dubbing loop and grasp the strands of peacock herl. Carefully twist the peacock into a herl chenille. Be careful not to over twist the rope, since it can break the strands of herl.
• Step 8 - Wind the herl chenille forward and secure at the base of the hackle.
• Step 9 – Twist the strands of silk together, then counter wrap one full turn at the back of the fly, then forward in open spiral wraps. This will help segment the body.
• Step 10 - Wrap the partridge hackle around the hook, then secure with the tying thread. For this pattern, I like to use the entire hackle.
• Step 11 – Collect the hackle fibers together and pull them all up over the back of the fly. Bind them down with wraps of tying thread. The fibers will form a soft mottled wing, along the top of the fly. Thread wraps over the hackle stem and fibers makes the fly very durable.
• Step 12 – Dub a couple inches of the tying thread with natural colored mole fur dubbing. Wrap this in front of the hackle wing, forming the thorax of the fly.
• Step 13 – Form a neat head with two whip finishes
• Step 14 – Add a drop of clear nail polish to the head, finishing the fly.
NOTES ON TYING SEQUENCE:
- Elimination of the silk rib makes the fly easier to tye and probably equally effective as a fishing fly.
- The hackle could by tyed in after the rear peacock body has been formed. Tying the hackle in by the tip would probably be simpler, but I like tying hackle in by the stem for general durability and to help taper the under body somewhat. May simply be a style choice.
- The silk thread is a single strand of silk thread folded twice to form four strands. The silk is twisted together into a cord before wrapping forward. I did not wax the silk, but may try some with wax. The unwaxed silk with likely darken once the pattern is wet.
PICTORIAL TYING SEQUENCE:
Finished set of swap flies:
Here are a couple more pictures. The first one shows the version tyed without the yellow silk rib, and using brown barred Hungarian Patridge shoulder hackles.
Side-by-Side Photo:
The ones on the left were tyed with brown barred hackle (shoulder region). The ones on the right are tyed with gray hackle (middle back region), plus yellow silk rib.
Either way, they are very effective flies...