Brown Hackle Peacock......
Posted: Fri Dec 03, 2021 7:13 pm
Details on a classic wet fly that everyone knows! The Brown Hackle Peacock!

Step-by-Step Tying Instructions:
Photo One: Tying thread down the shank to just short of the bend. Tie in mylar tinsel with gold side inward. Wrap five rounds down and six back up. Tie of mylar with three tight wraps and add just a small drop of head cement to keep the wraps secure. Pick two peacock hurls and even them by the tips. Cut off 3/4" of the tips and secure them to the hook shank. Form a dubbing loop and cut the bottom of the loop off level with the butt ends of the hurls. Gather the hurl/thread together in a hackle pliars and twist them clockwise until the hurl "pops". Wind this peacock rope forward (occasionally twisting to maintain the "pop") until an eye length behind the eye! Secure with 3-4 tight wraps and again apply a small drop of head cement!

Photo Two:

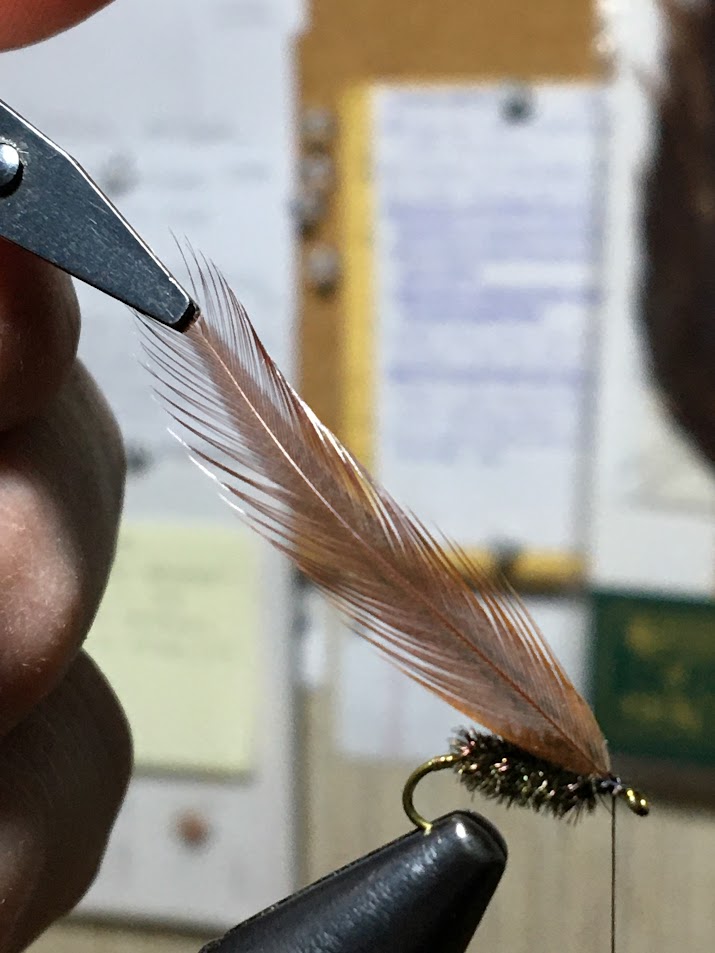
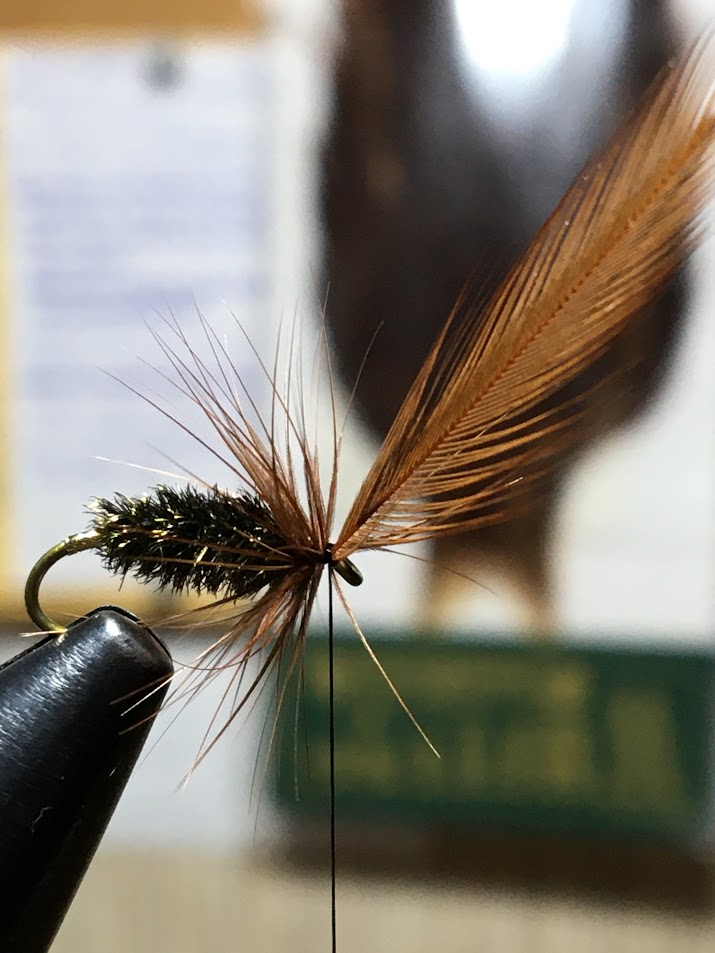
Photo Three:Select a soft, brown feather from a hen cape and trim the butt end with your scissors about six barbs up the shaft. This will help keep the feather secure under the wraps of thread. Secure the feather with four tight turns and another small drop of head cement. Make 3-4 wraps of hackle as you fold the fibers backward on each turn! Secure the hackle, trim the excess, and begin to make a small, cone shaped head extending backwards enough to push the hackles into a swept back position. Whip finish and apply enough head cement to gloss the head really well! Sometimes, it takes two coats!

Photo Four:I have much more history and tying notes to share with you about this pattern including a recipe! I will post these tidbits shortly!

Photo Five:A big THANK YOU shout out goes to Ray for posting the pictures above and stepping me thru this process! It was fun and I hope everyone enjoys it! This pattern is a real killer for me and a blast to tie!

Photo 6:

Photo 7:

Photo 8:

Step-by-Step Tying Instructions:
Photo One: Tying thread down the shank to just short of the bend. Tie in mylar tinsel with gold side inward. Wrap five rounds down and six back up. Tie of mylar with three tight wraps and add just a small drop of head cement to keep the wraps secure. Pick two peacock hurls and even them by the tips. Cut off 3/4" of the tips and secure them to the hook shank. Form a dubbing loop and cut the bottom of the loop off level with the butt ends of the hurls. Gather the hurl/thread together in a hackle pliars and twist them clockwise until the hurl "pops". Wind this peacock rope forward (occasionally twisting to maintain the "pop") until an eye length behind the eye! Secure with 3-4 tight wraps and again apply a small drop of head cement!
Photo Two:
Photo Three:Select a soft, brown feather from a hen cape and trim the butt end with your scissors about six barbs up the shaft. This will help keep the feather secure under the wraps of thread. Secure the feather with four tight turns and another small drop of head cement. Make 3-4 wraps of hackle as you fold the fibers backward on each turn! Secure the hackle, trim the excess, and begin to make a small, cone shaped head extending backwards enough to push the hackles into a swept back position. Whip finish and apply enough head cement to gloss the head really well! Sometimes, it takes two coats!
Photo Four:I have much more history and tying notes to share with you about this pattern including a recipe! I will post these tidbits shortly!
Photo Five:A big THANK YOU shout out goes to Ray for posting the pictures above and stepping me thru this process! It was fun and I hope everyone enjoys it! This pattern is a real killer for me and a blast to tie!
Photo 6:
Photo 7:
Photo 8: